Showing posts with label Recipes. Show all posts

Monday, September 30, 2019

Grain and Gluten Free Waffles

This month, my daughter, Aubree, is sharing a guest   
 blog post with her grain free waffle recipe. This recipe will fit any dietary need plus is very tasty. 

Enjoy,
Bamah
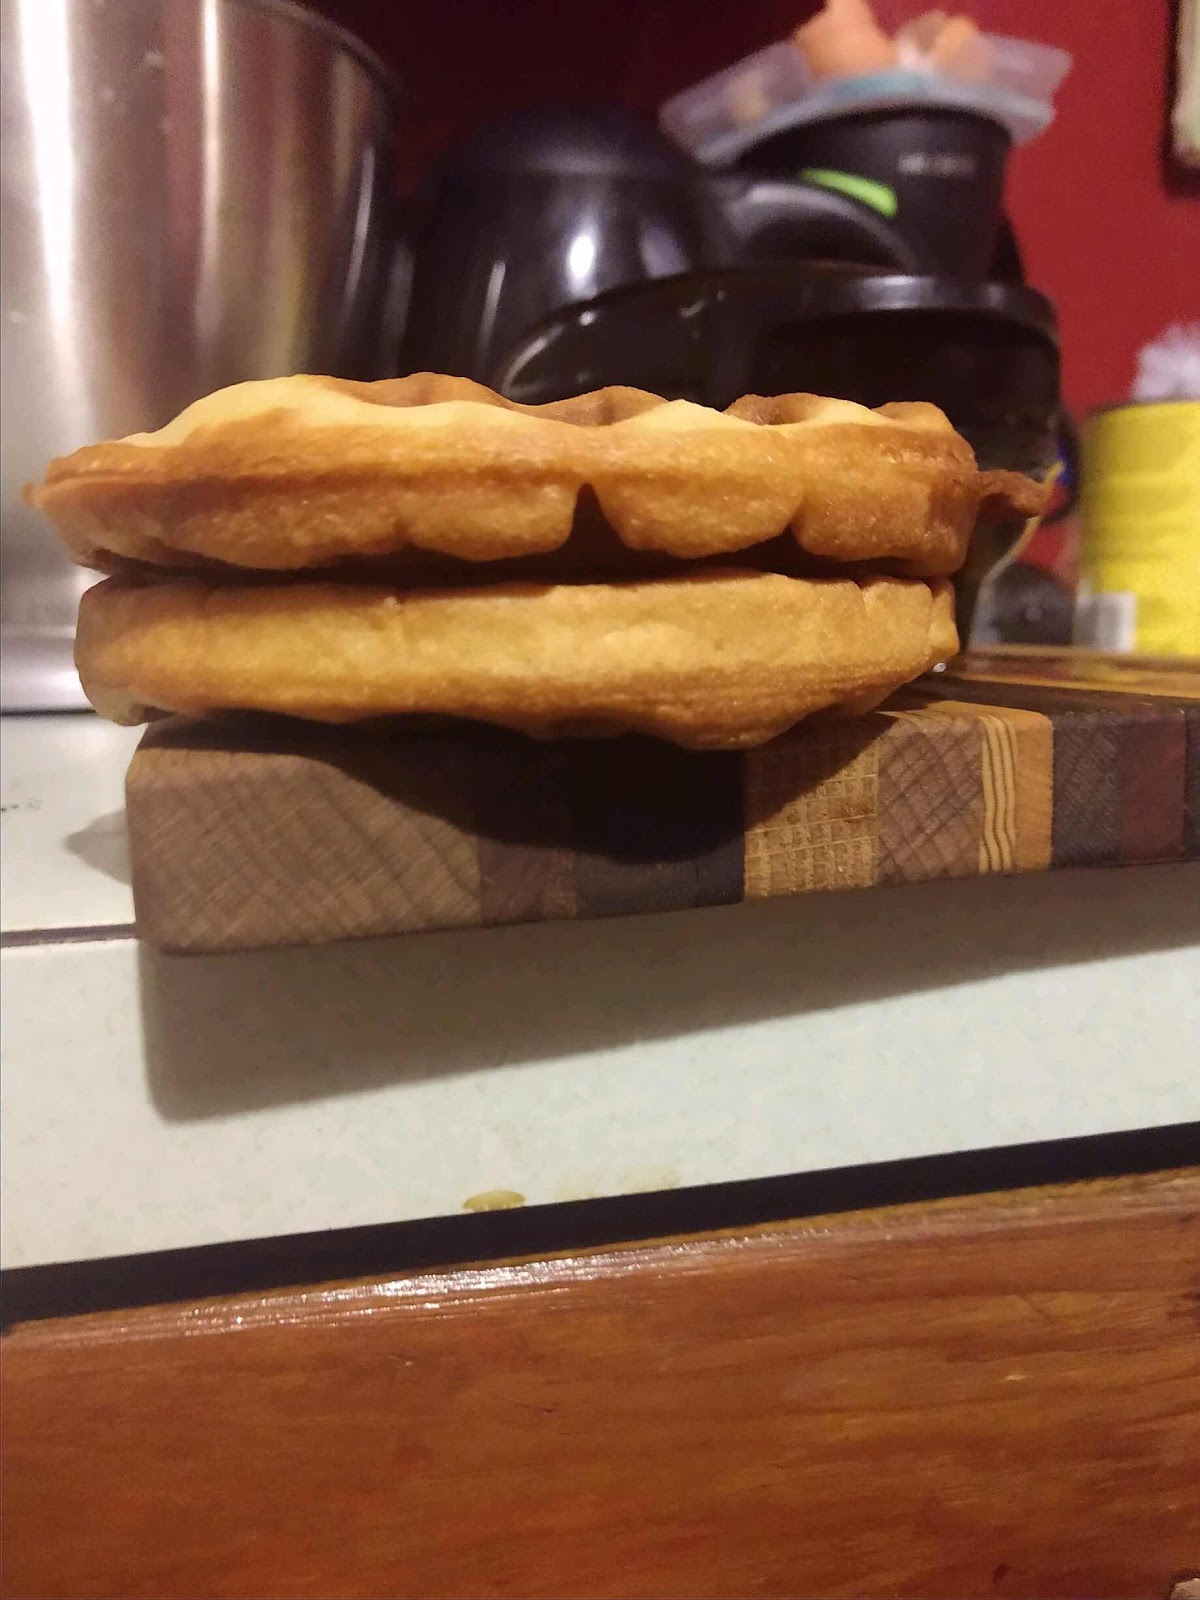
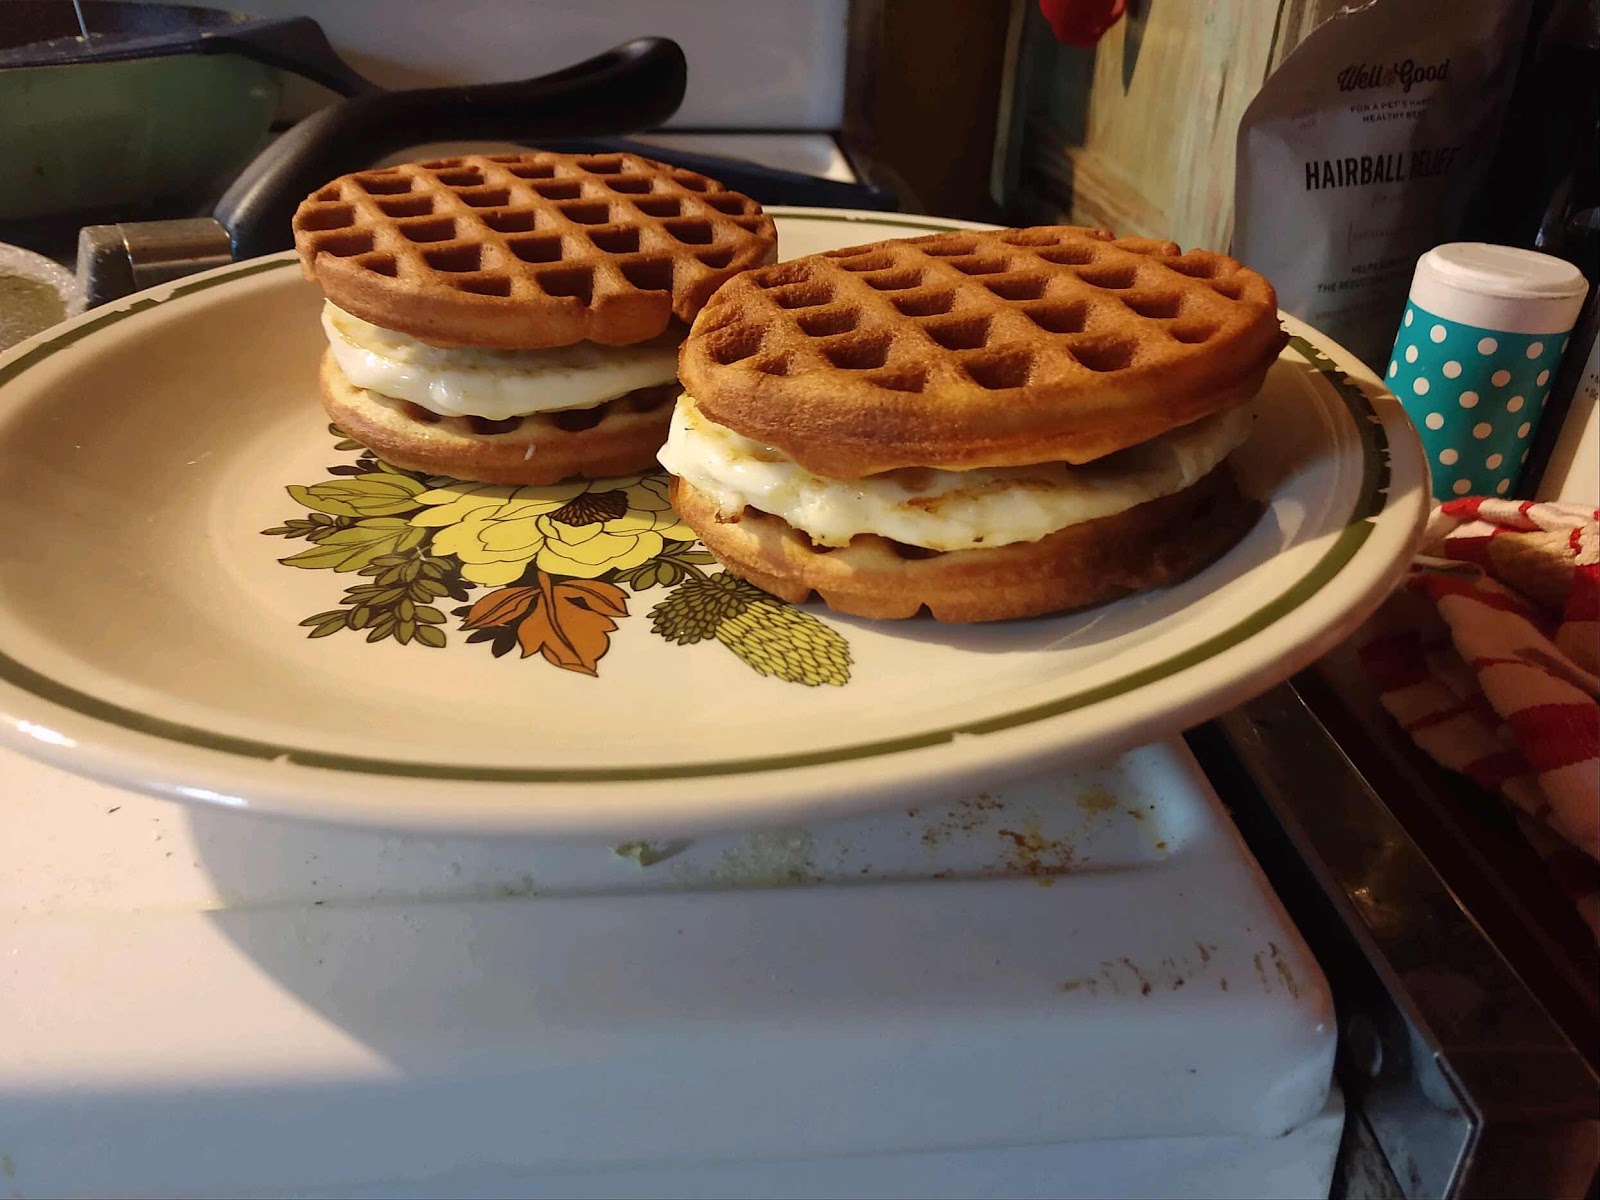
Hello all!! I keep meaning to write up another guest blog post and then forget. Recently, I bought a mini waffle maker on sale, and have been experimenting with some recipes. Grain free waffles are not easy. Thankfully, a new family member has turned me onto chickpea flour which is amazing and versatile.   I tried a pure almond flour recipe, but didn't like the fragility of the waffles, and I tried pure chick pea flour waffles, but thought they needed a bit of tweaking for better rise and batter thickness. I have made the below recipe at least 3 times now and haven't had any major issues, and I really like the taste and how strong they are. I can now enjoy breakfast sandwiches using the waffles, and even better, avocado waffles since I haven't found a good bread recipe for toast. Now I will say, these aren't the best when heated the next day, but a quick pop in the oven or toaster to warm, and they are good. I keep the batter in a blender bottle in the fridge for up to a week and make them as I go. I will say that I have yet to family test these, as this is a new project, but I have also eaten 3 batches worth on my own, so there you go.

Grain free waffles
2 Cups chickpea flour
1 1/2 Cups almond flour
3 1/2 tsp baking powder
2 tsp guar gum ( or xanthan gum)
2 tsp salt
2 Cups water
1/2 cup almond milk ( or any milk)
3T - 1/4 cup maple syrup (depending on preference) 
3 large eggs 

     First, combine all dry ingredients ( chickpea and almond flour, salt, baking powder, guar gum) in a mixer bowl and ensure they are incorporated. 
     Then you combine all wet ingredients in a bowl or container with a spout. ( I use my Pyrex 4 cup measuring cup, but have also used a bowl with a spout). 
     Slowly pour about a third of the wet mixture into the dry ingredients as the mixer is on so that it makes a thick batter and everything is mixed in with no lumps. Very slowly add the rest of the mixture scraping the sides and bottom as chickpea flour tends to settle. 
      And that's it!! Fire up your waffle maker and enjoy!! I have also made pancakes in a pinch but prefer the crispy nature of waffles. Chickpea flour does take a bit more time to cook, so my little mini waffles cook about 8-10 min each. 

A few notes on ingredients: chickpea ( or garbanzo bean floor) can be really pricey, but if there is an Indian store near you, you can find 4 lb. bags for around $6. Which is a much better deal. You can try other ethnic stores, but I know they have it at Indian stores. 
-----Guar and xanthan gum are interchangeable, but xanthan is derived from corn, which I am allergic to. 

--- the maple syrup added into the batter gives them a sweet taste without the need to put syrup on them later. It also makes it easier to eat them on the run. I once forgot the syrup, and it also makes them turn a nice shade of brown. If doing pancakes, leave it out as it makes them look burnt. If you don't want to use syrup, add the same amount of water or milk instead. 
---- I use unsweetened almond milk for this recipe. I have not tried any other form of milk, and if you wish to use something different, just remember that almond milk is thin like regular milk, I don't know how half and half or heavy cream will affect the batter. 

Hope you enjoyed this guest blog!! Just a note, this recipe is gluten free, corn free, grain free, dairy free, and Paleo. If you have anyone with dietary issues you are cooking for. 
Aubree

Friday, August 30, 2019

Fermented Sauerkraut


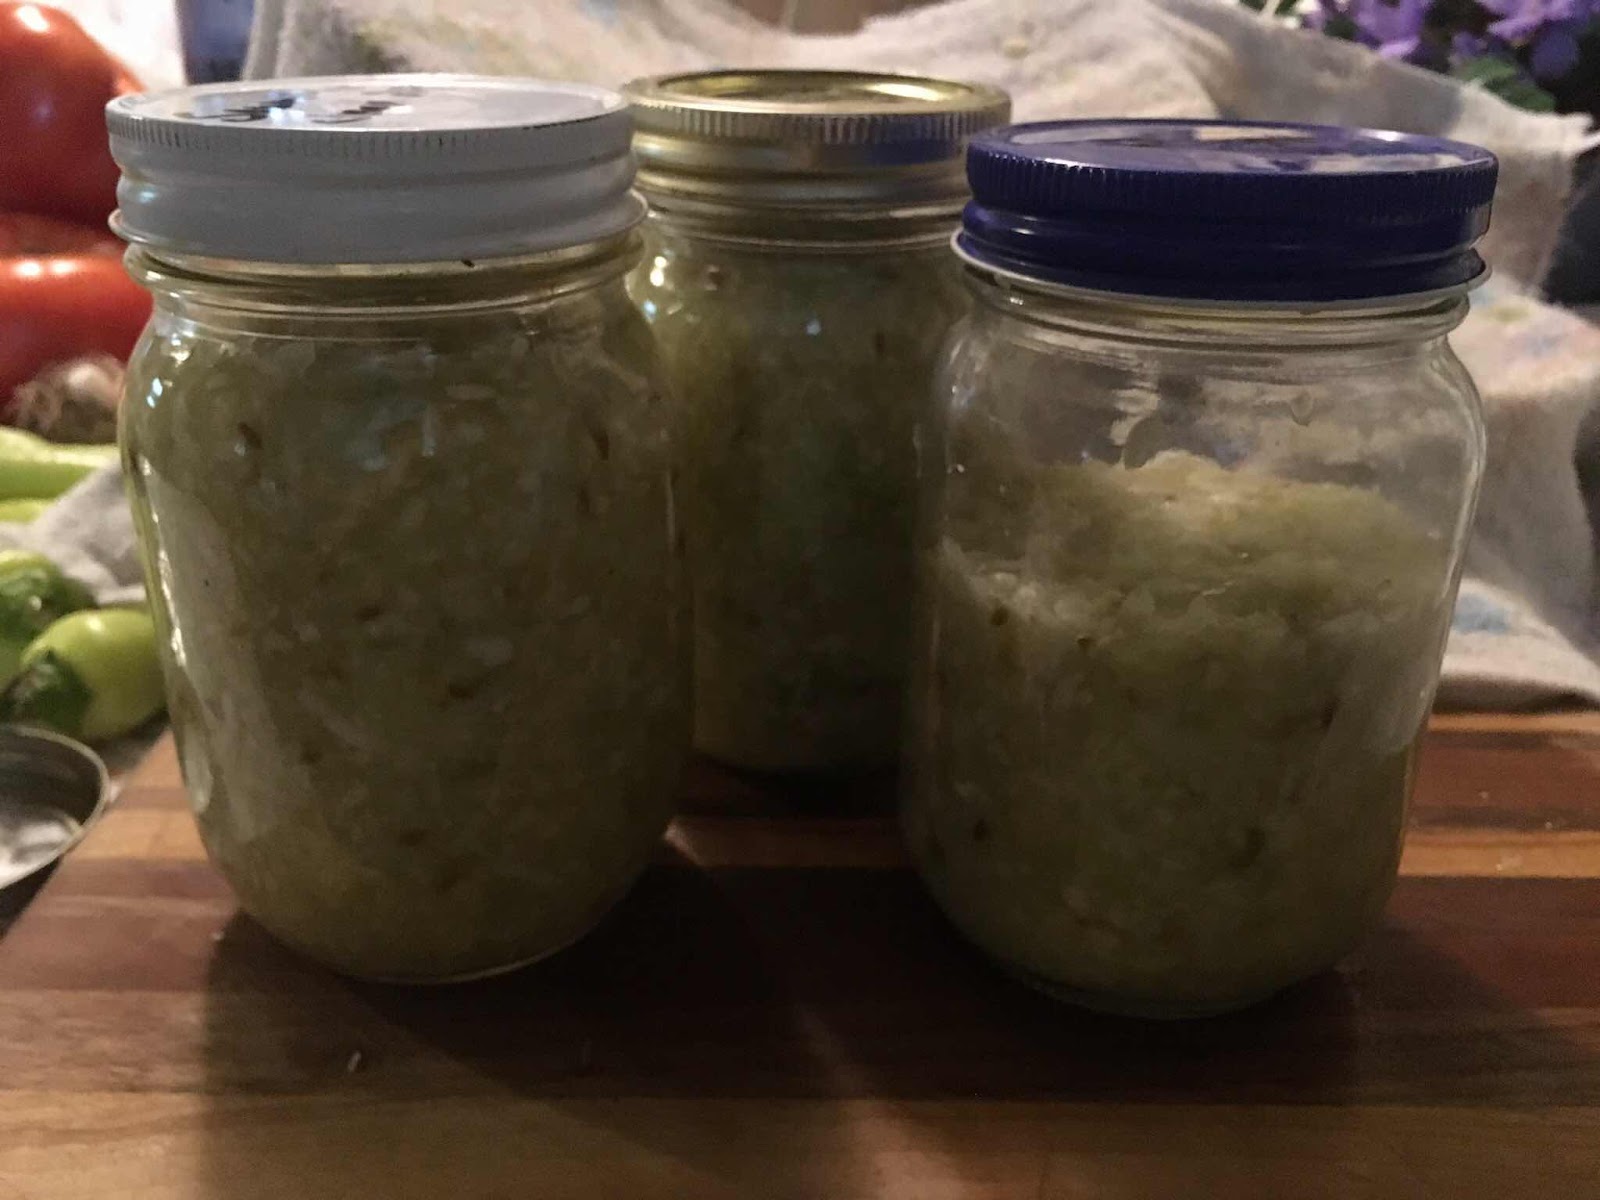
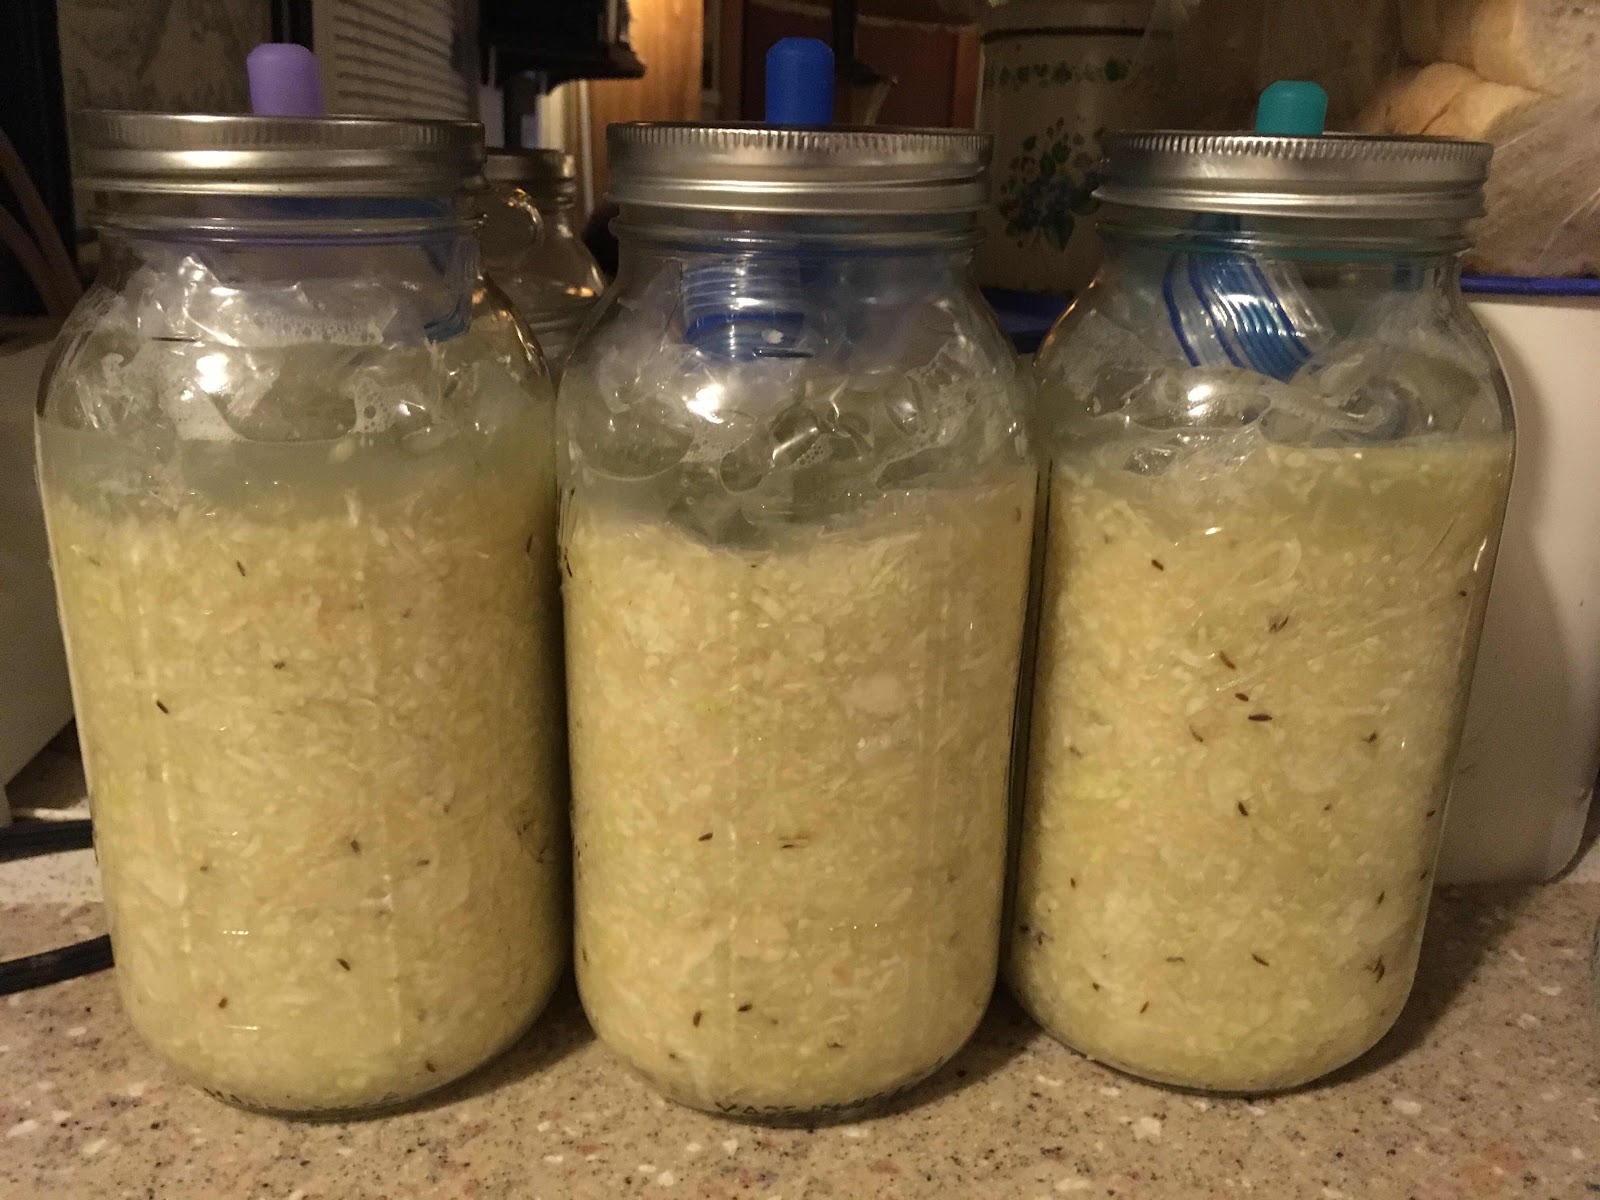
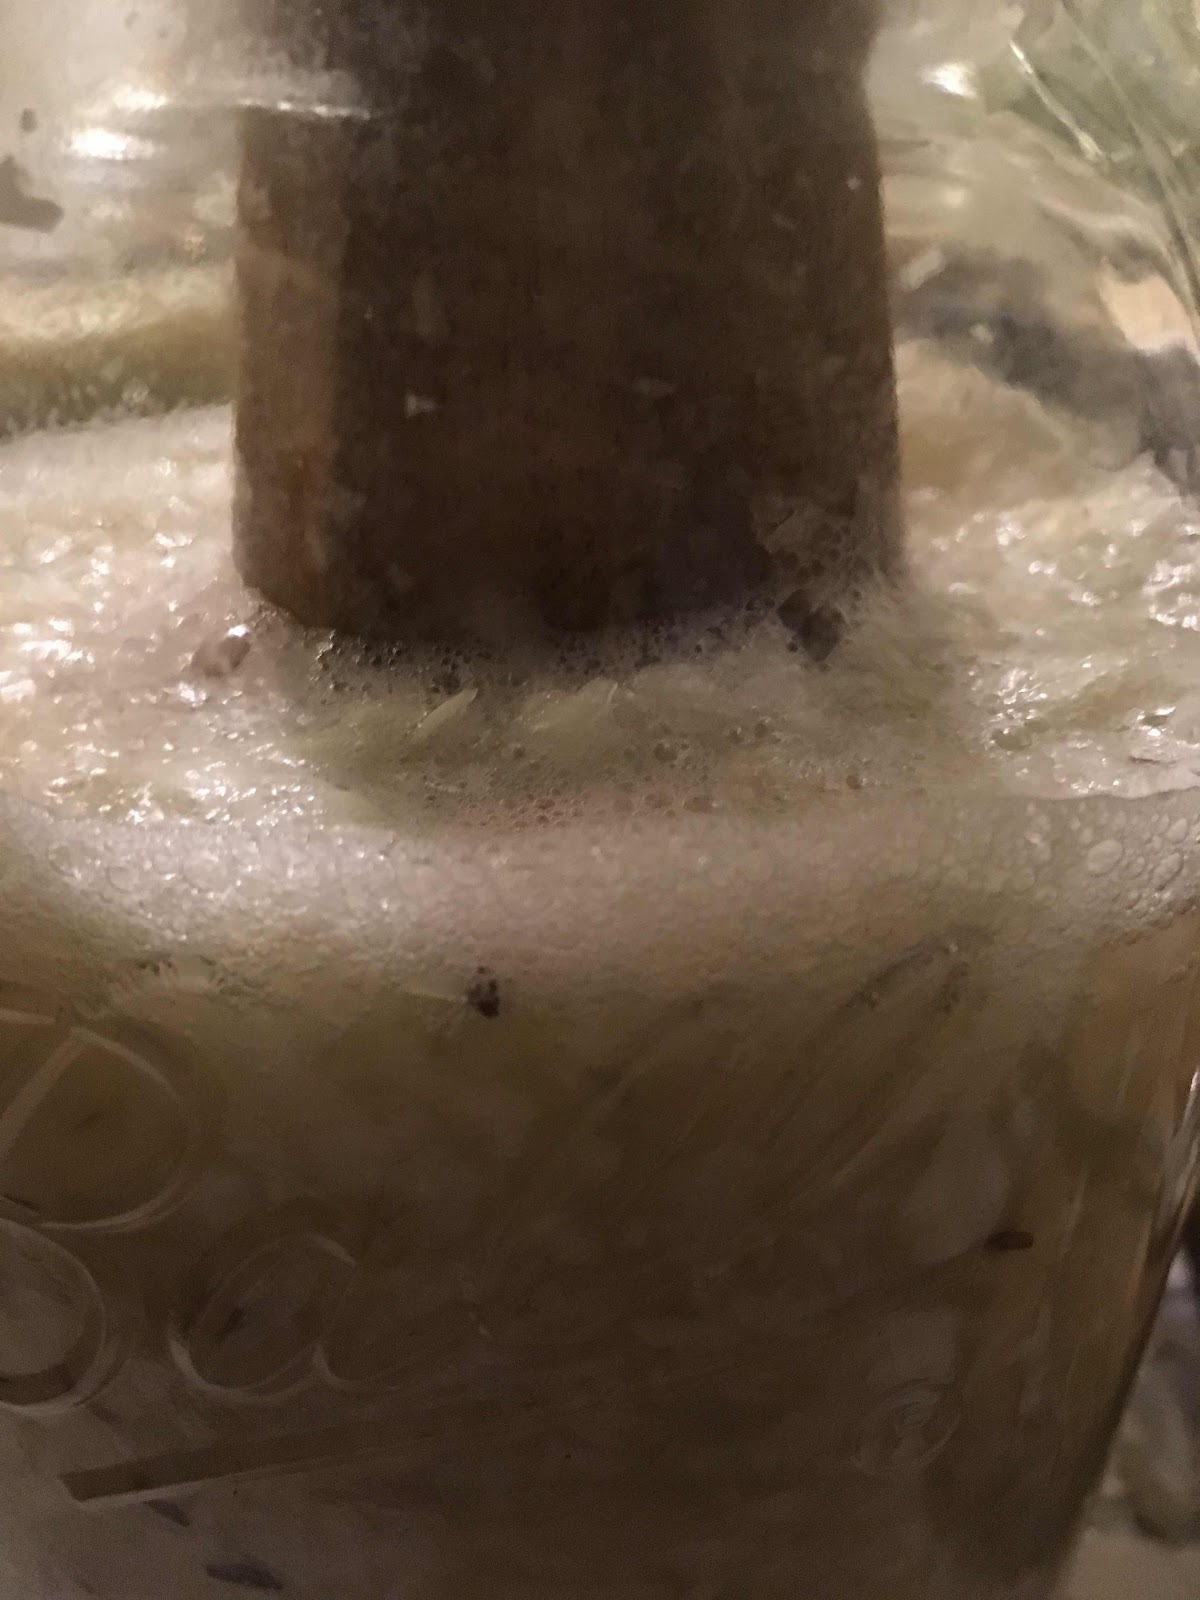
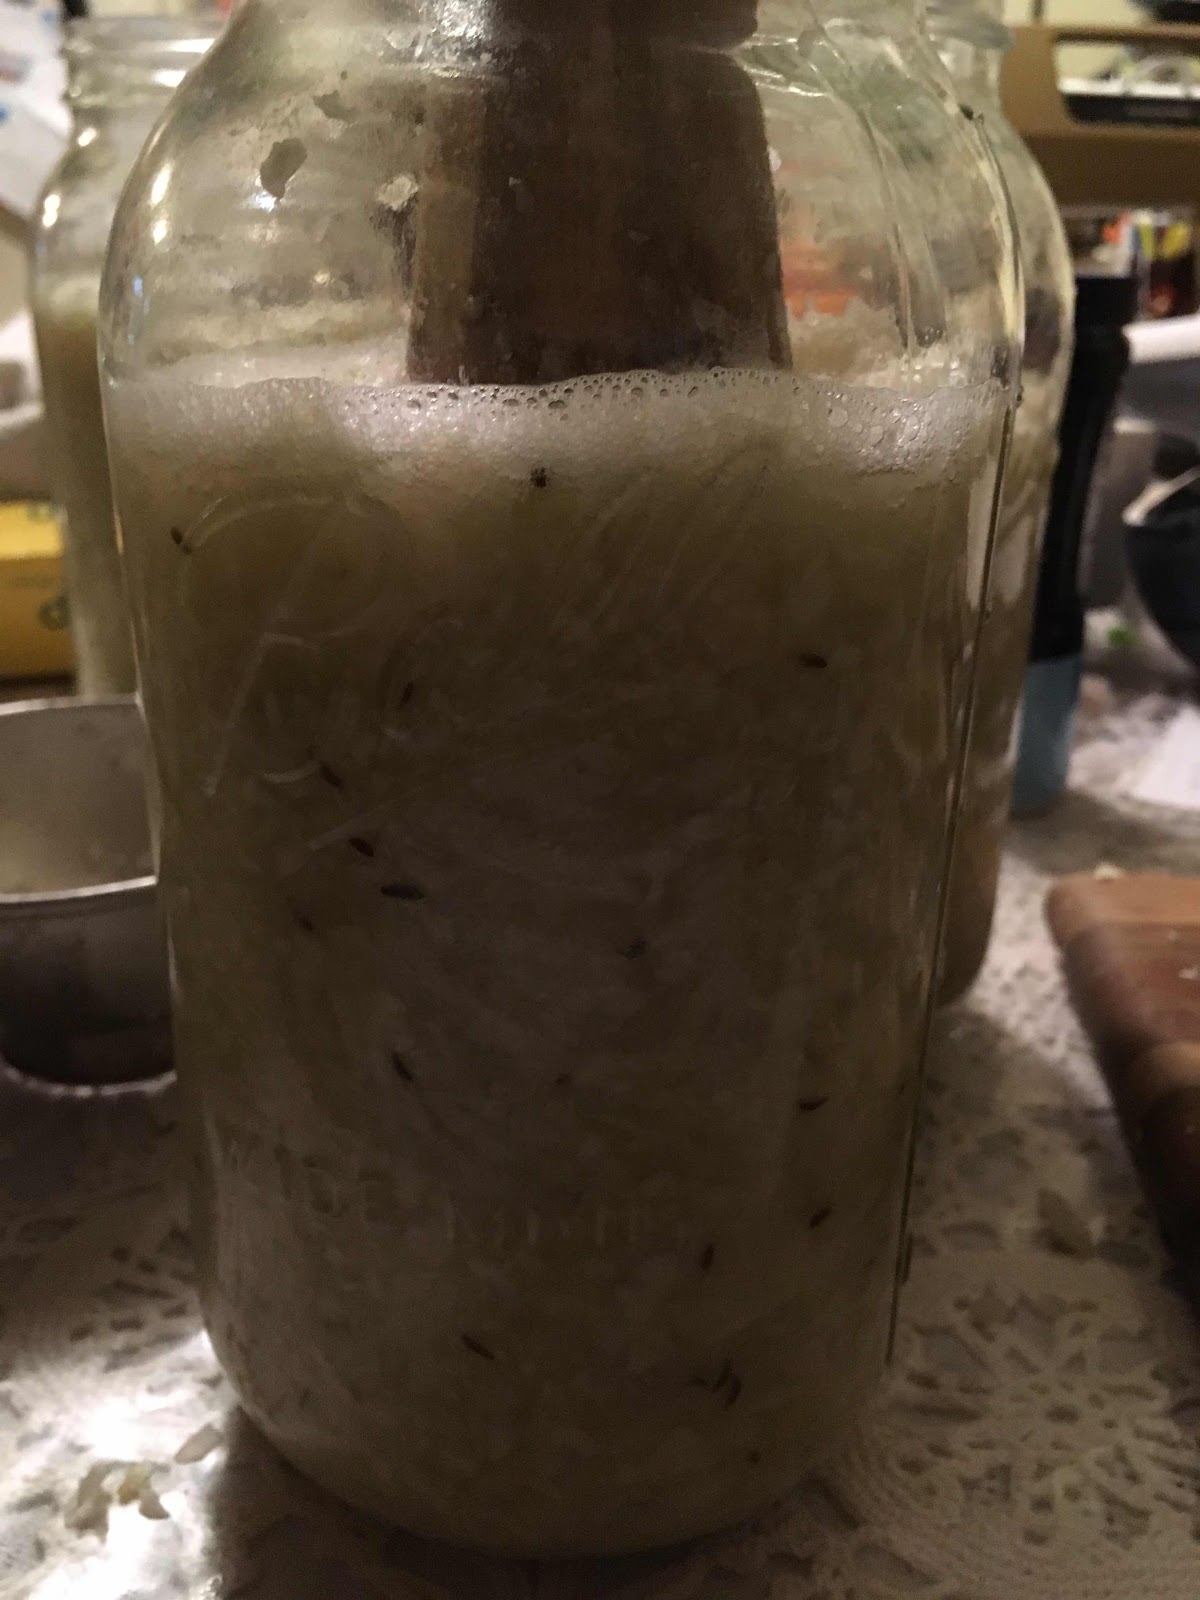
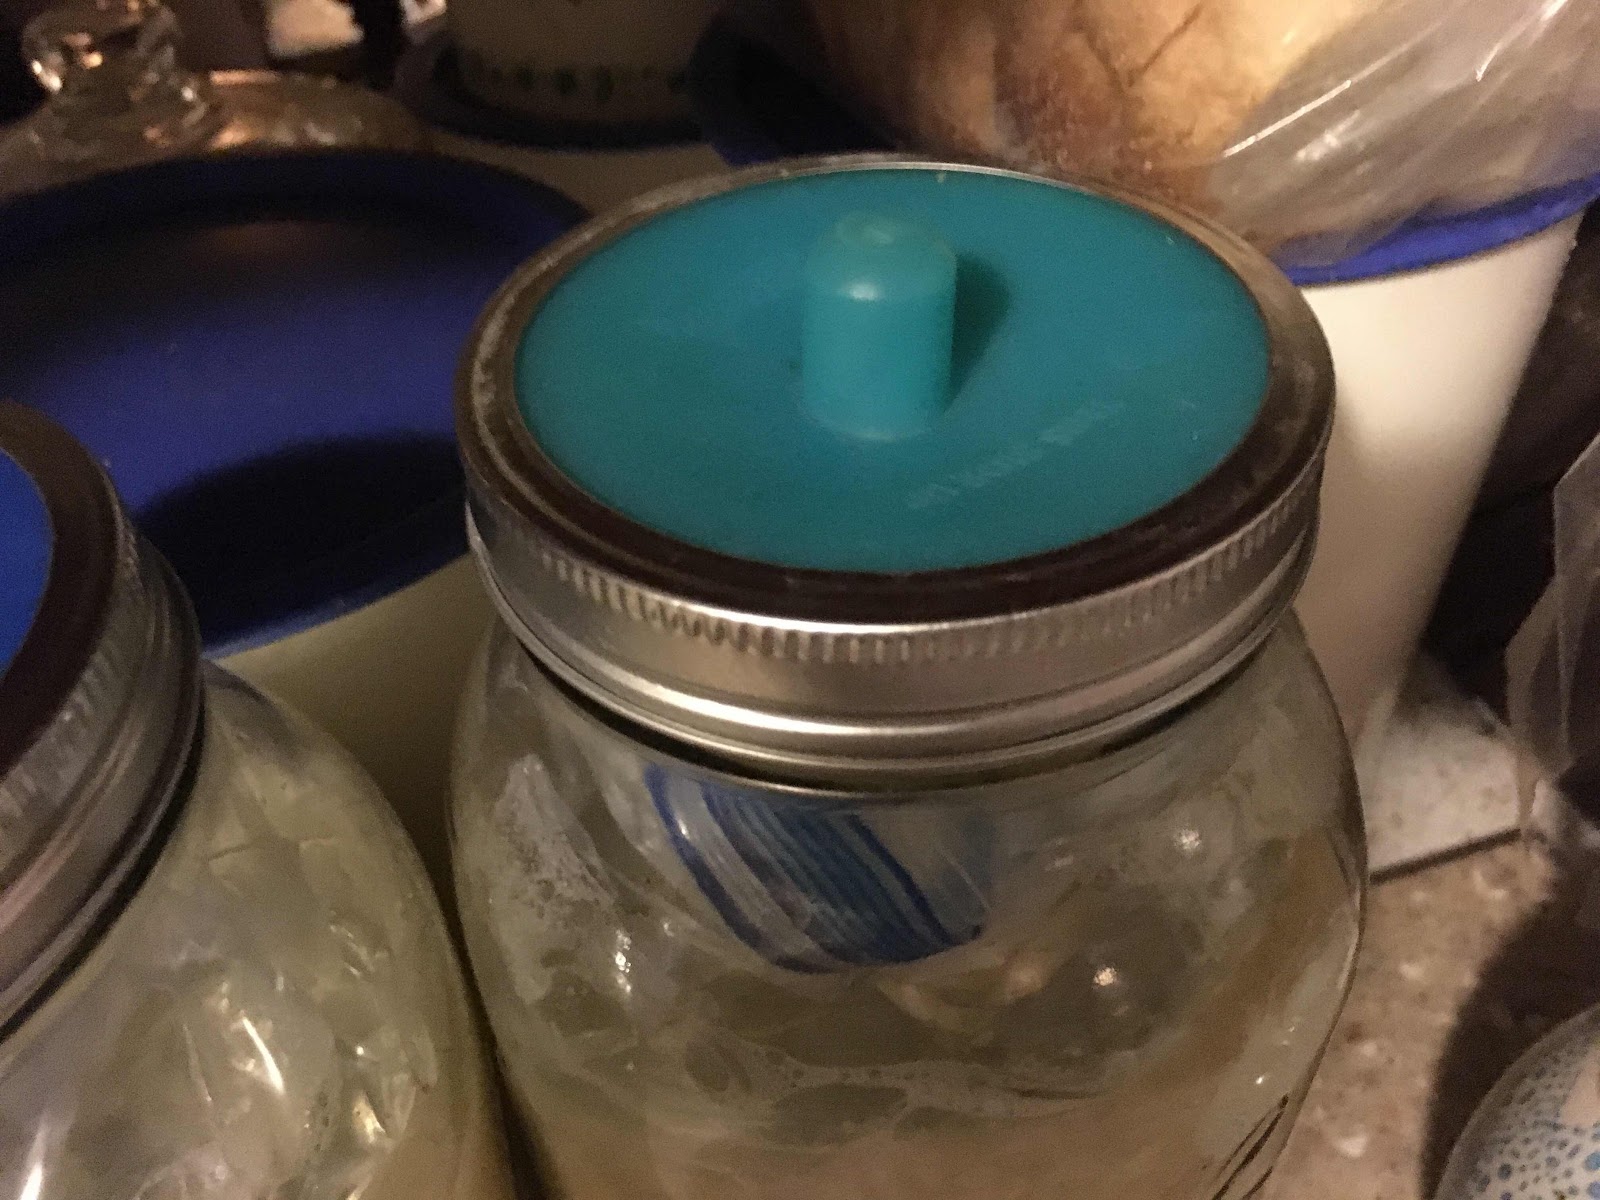
I've loved sauerkraut ever since I was a little girl even though back then it was out of a can or sometimes a jar. I love, love sauerkraut on hotdogs. A couple of years ago I started making my own and it is so much better.  Fresh is always best and fermenting cabbage into sauerkraut is so easy plus can be ready in as little as 3 days. All that's needed is shredded cabbage, sea salt, and caraway seeds.  The cabbage and salt makes it's own brine so additional brine is not needed.  I ferment mine in large 1/2 gallon mason jars with  Masontops silicone airlock lids and a large jar ring to hold the silicone lid on. The cabbage has to be weighted to stay under the brine so don't fill to the top of jar but leave 2 to 3 inches to allow for this.  I have glass weights but I also like to use a Ziploc bag with water so most of the time put the glass weight in the baggie and add water.  This makes a perfect weight and covers the whole area so everything stays under the brine. Another important step in making sauerkraut is packing the cabbage down in the jars.  I use a wooden tamper that came with my fermenting kit but anything can be used to pack it down and get all the air out plus causing the brine to rise to the top. The beauty of fermenting is it doesn't take a lot of time prepping the vegetables and can be done in large or small batches.  The fermentation process takes anywhere from 3 to 10 days depending on the product and surrounding temperatures.  In hot weather it's a faster process than in cold. There's not an exact recipe but here's the process:
Fermented Sauerkraut
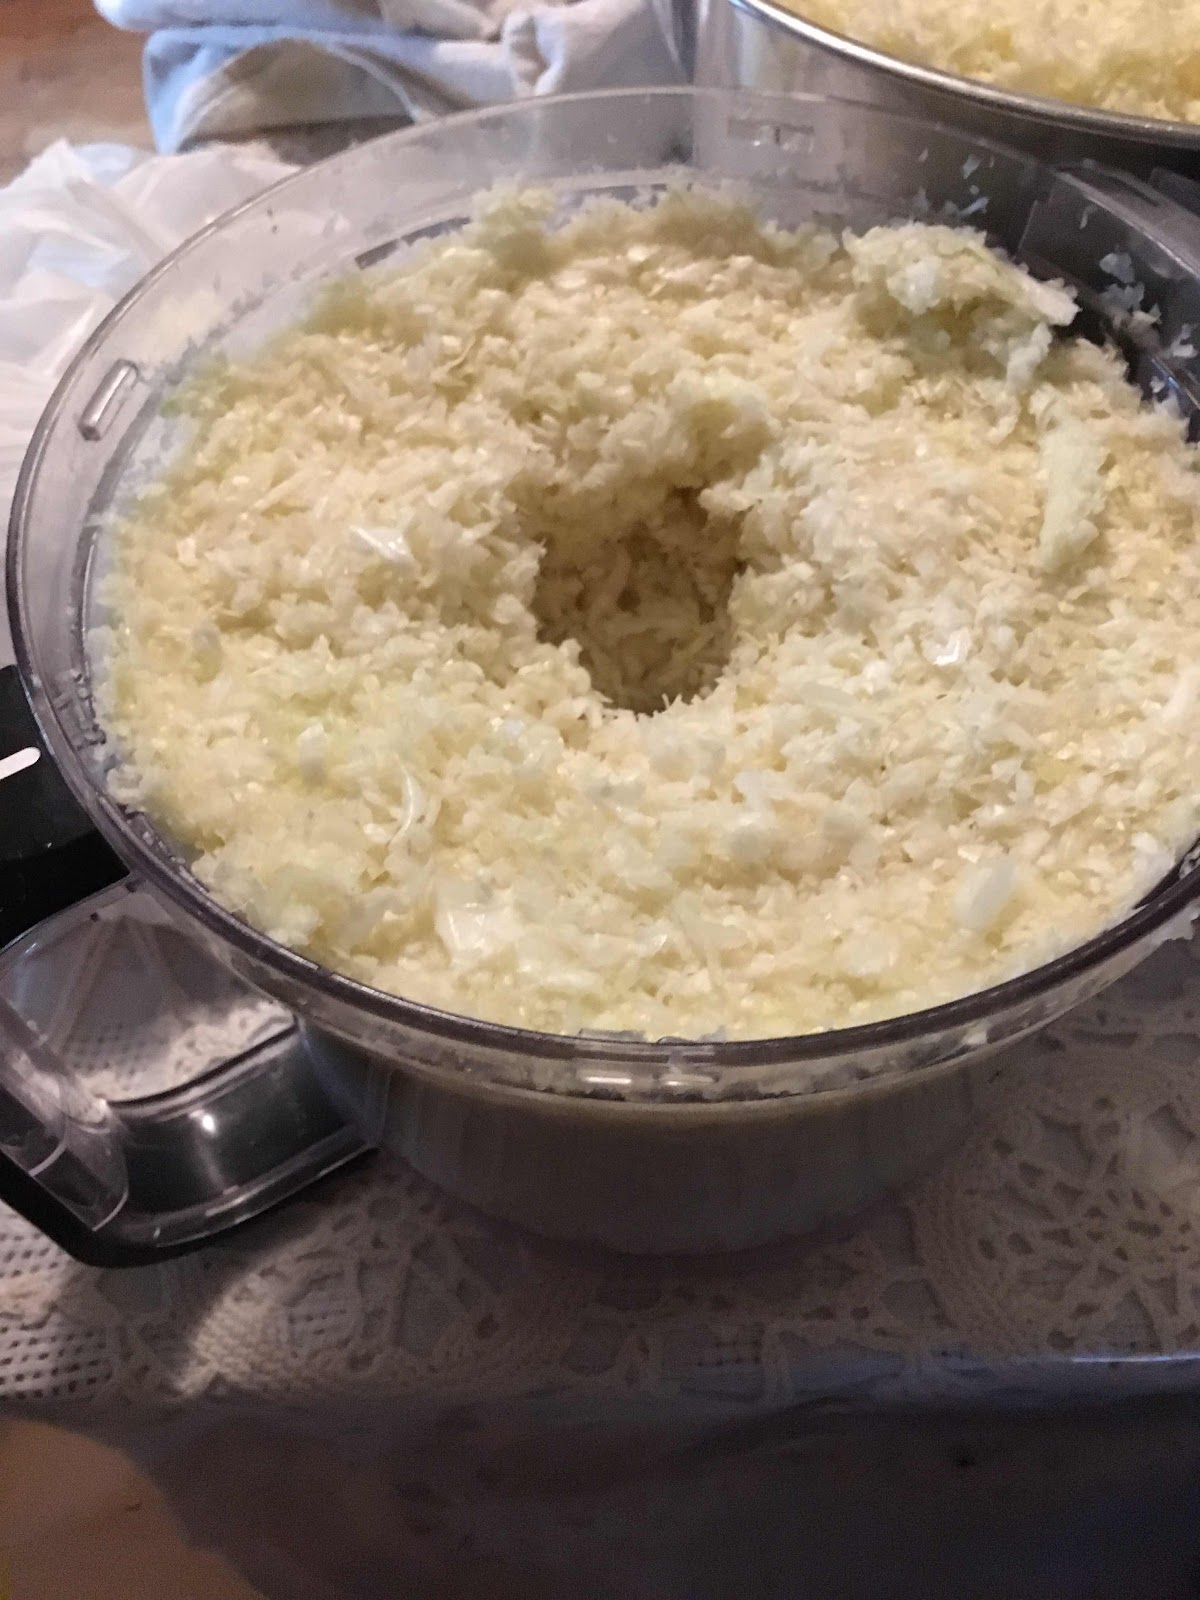
1 to 2 heads lettuce, cored and shredded (I use my food process to shred mine)
1 to 2 T sea salt
1 to 2 t caraway seeds


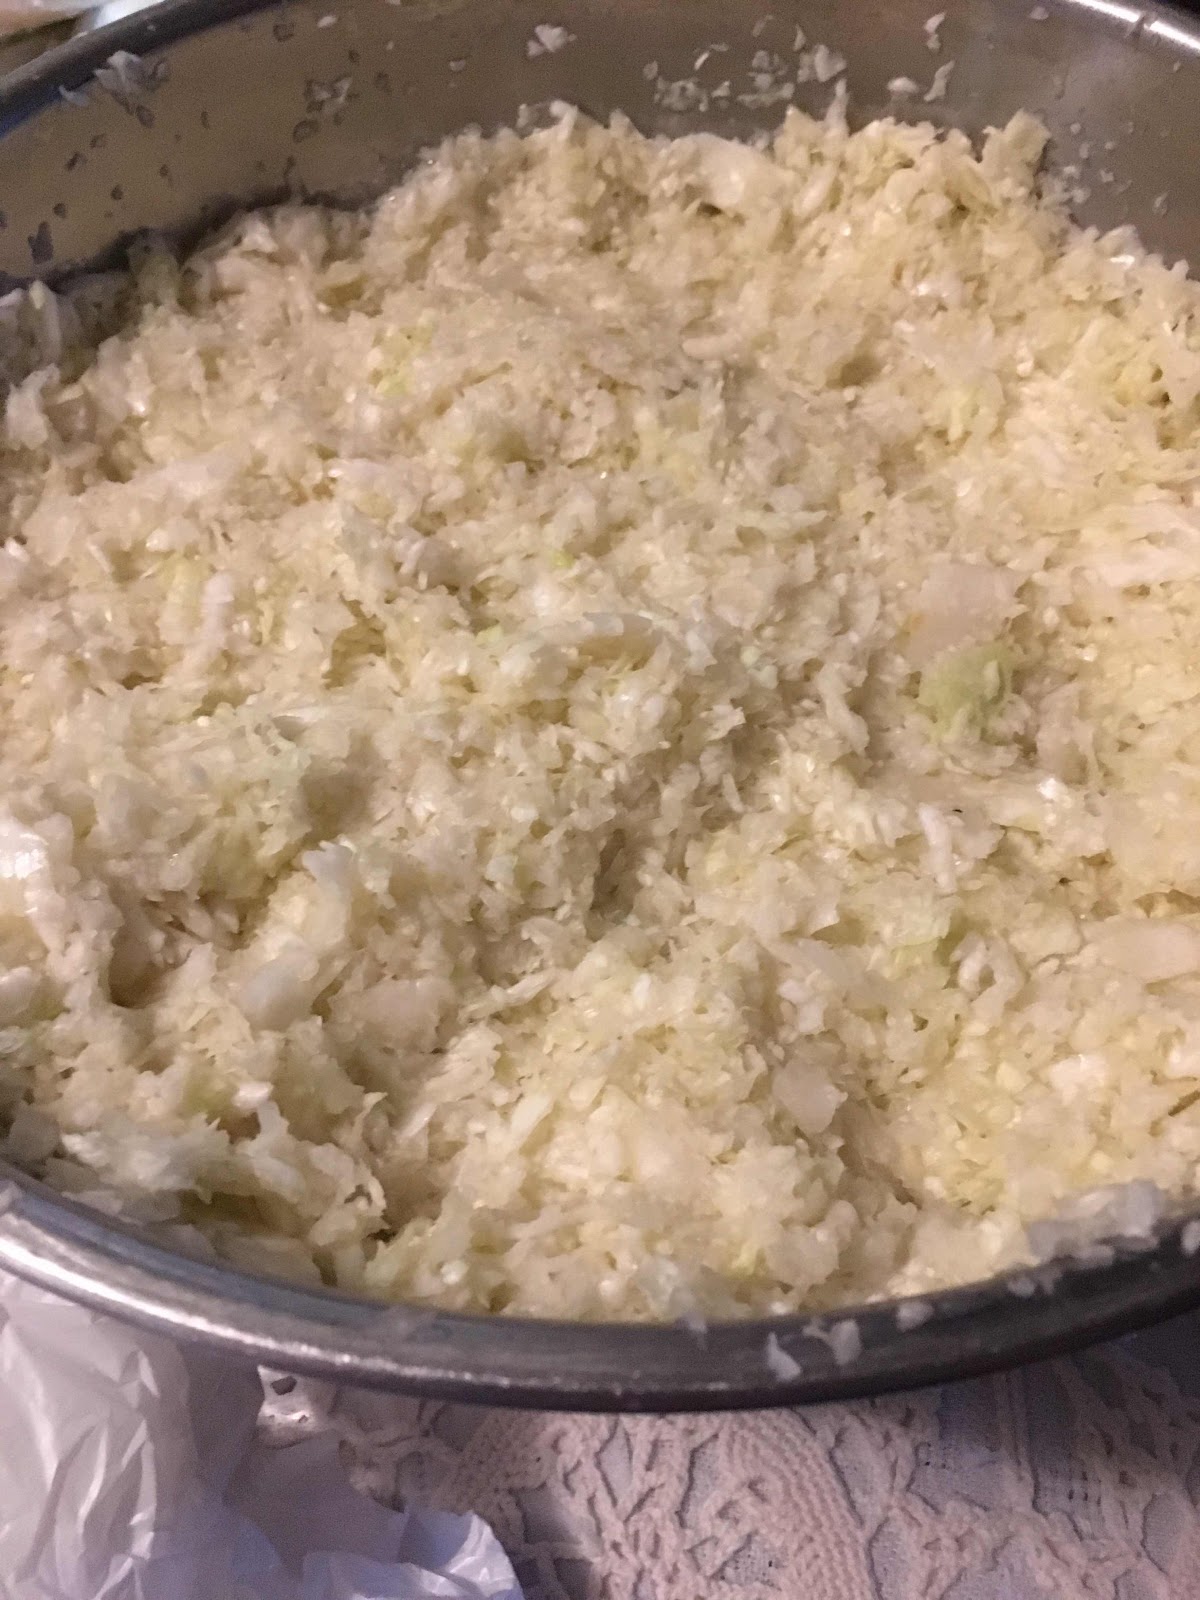
Core and shred cabbage, a food processer works great for this.  Place in large bowl and sprinkle with sea salt, continue until all cabbage is shredded and salted.  Massage or knead cabbage with hands to work in salt and release brine.  Lightly cover and let sit for 30 to 45 minutes.   The cabbage should be wet and brine pooling in the bowl. Add caraway seeds and taste to check salt levels.  It should be a bit salty but not overwhelming.  Add additional salt if needed in small amounts.  Transfer into large mason jar and pack down with wooden tamper or glass to release air bubbles and cause brine to rise to the top.  Leave 2 to 3 inches at top of jar (headspace) to allow for weight and fermentation process.  Cover cabbage with a piece of cling film, if have glass weight place in quart Ziploc bag and place in top of jar, fill with about 1/2 cup water, release air and seal bag.  Lightly press down, make sure brine is over cabbage and place silicon airlock lid and metal ring on jar. Release air and place on counter away from direct sunlight, in a cool area.  Check daily to release air, (bubbles form during fermentation process) and make sure cabbage stays submerged under brine.  Scum may form on top but is generally harmless. Check taste after 3 days, it should taste pickle-y but not like vinegar.  Kraut should look like cooked cabbage, soft but still a little crunchy. If it's not ready, rinse the off the Ziploc bag and replace the water and continue to monitor daily until it tastes right. When kraut is ready, transfer into smaller jars, tamping down and filling jars and making sure sauerkraut is submerged in the brine.  Store in refrigerator and enjoy.
We love to eat it on hotdogs with plenty of spicy mustard but it's also good in a skillet dish with smoked or lamb sausage, chopped apples and mustard.
Sauerkraut is one of the easiest things to ferment and a perfect starting point.
Happy fermenting.
Enjoy,
Bamah 


Tuesday, July 23, 2019

Cucumber Veggie dips and spreads

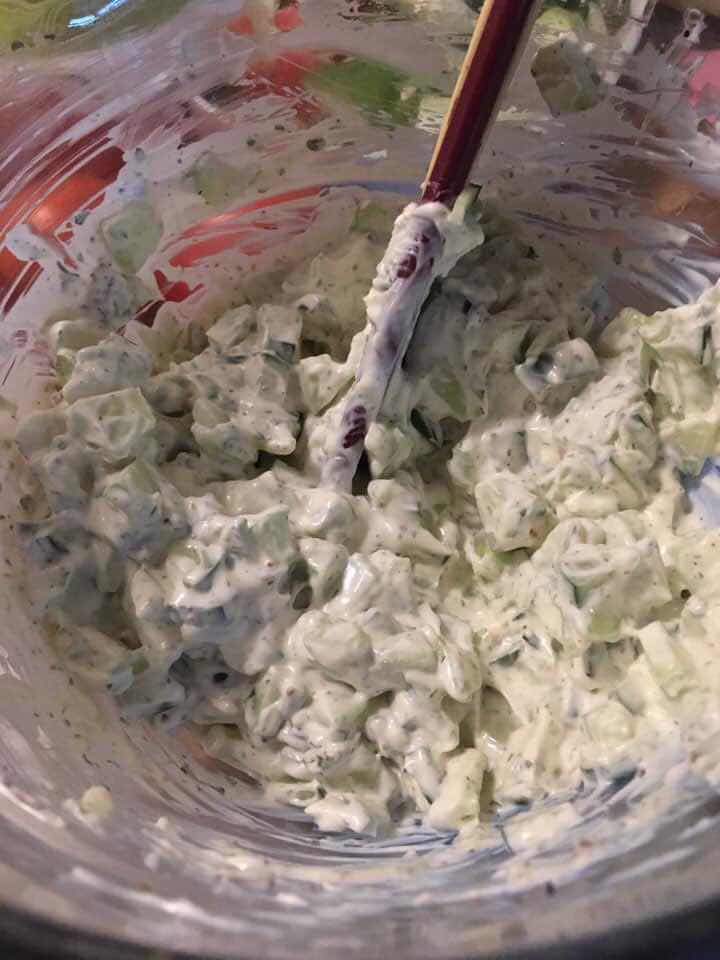
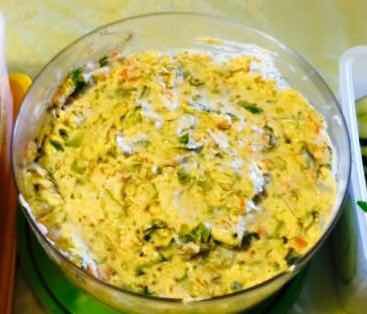
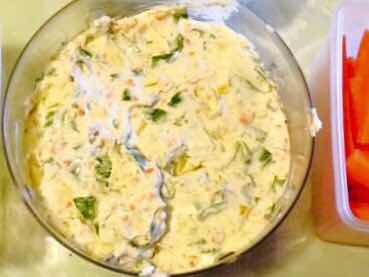
In the spring and summer months I love making cream cheese dips and spreads with lots of fresh veggies.  They are so versatile adding whatever vegetable and seasonings to a block of softened cream cheese.  They are very yummy as a spread on a sandwich, or eaten with crackers or chips.  They can be cold out of the refrigerator or heated a few seconds in the microwave.  I make one of these every couple of weeks all summer long with whatever I've gotten at the farmers market and whatever seasonings I have on hand.  I also have several dry dip seasoning mixes that I add to change up the flavors.  The possibilities are endless. One of my favorites is cucumber spread and I like using a combination of regular and Armenian cucumbers. Armenian cucumbers are actually in the melon family and have a nice mild flavor.  They can be eaten raw or cooked and are great pickled.   It's just finely diced cucumbers, cream cheese, a little mayonnaise, seasoned salt, pepper and parsley mix.  This last batch I made I added oregano which was really tasty.  Sometimes I add lemon pepper.  The key is to finely chop or shred the veggies, cut out the seeds in the cucumbers and add a little mayonnaise to make it creamier. My favorite veggies to use are cucumbers, radishes, carrots, celery and some type of greens like kale, spinach or lettuce.  I've also used the green parts of bok choy when I've gotten it at the farmers market. Fresh or dried herbs or any combination are great as well.  When making a basic dip, I often add shredded cheddar cheese.
Here's the recipes:
Cucumber Spread
2 cucumbers, seeded and finely chopped
1 block cream cheese, softened
1 to 2 T mayonnaise
1 to 2 t seasoned salt, pepper, parsley

1 t oregano (optional)
1/4 c finely chopped fresh kale, spinach or lettuce (optional)


Place cream cheese in medium bowl, if not softened, microwave for 30 to 40 seconds.  Cut out seeds of cucumbers and finely chop then add to cream cheese.  Add seasonings and enough mayonnaise to make creamy and spreadable.  Transfer into container and refrigerate. Spread on sandwiches or crackers.


Basic Cream Cheese Veggie Dip
1 block cream cheese, softened
1 cucumber, seeded and finely chopped
1/2 to 1 c chopped veggies, carrots, celery, or radishes
1/4 c finely chopped fresh kale, spinach or lettuce

2 to 3 T mayonnaise
1/4 c shredded cheddar cheese
1 to 2 t seasoned salt, pepper, parsley
1 pkg or 2 T any kind of dry dip mix such as bacon, ranch, onion, herb blend or taco


Place cream cheese in medium bowl, if not softened, microwave for 30 to 40 seconds.  Cut out seeds of cucumbers and finely chop.  Finely chop or shred carrots, celery and radishes or any combination of veggies.  Add dry dip mix, seasoned salt, pepper and parsley to cream cheese and stir until blended.  Add in veggies, fresh chopped greens, cheddar cheese and mayonnaise.  Stir until blended and creamy. If needed, add more mayonnaise. Transfer into container and refrigerate.  To serve as dip with chips, transfer into microwave dish and microwave 20 to 25 seconds.


Enjoy,
Bamah


Monday, July 22, 2019

Fermented Pickles

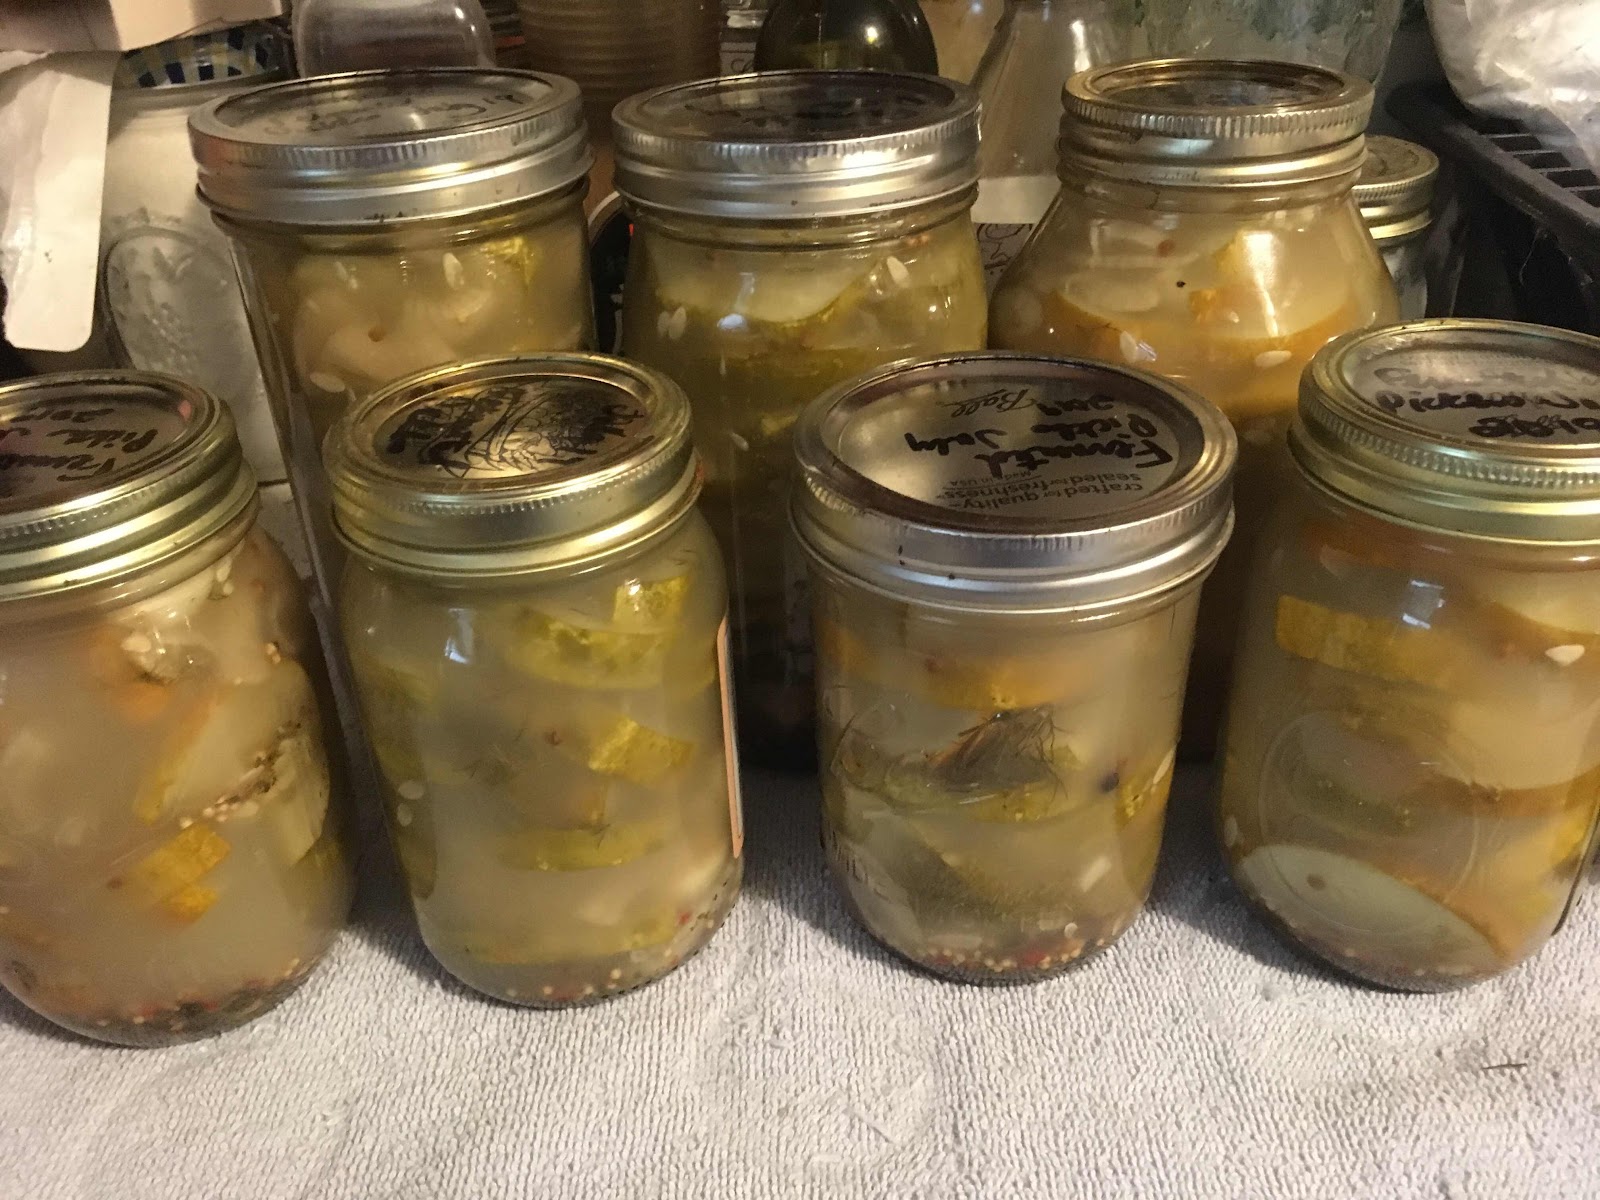
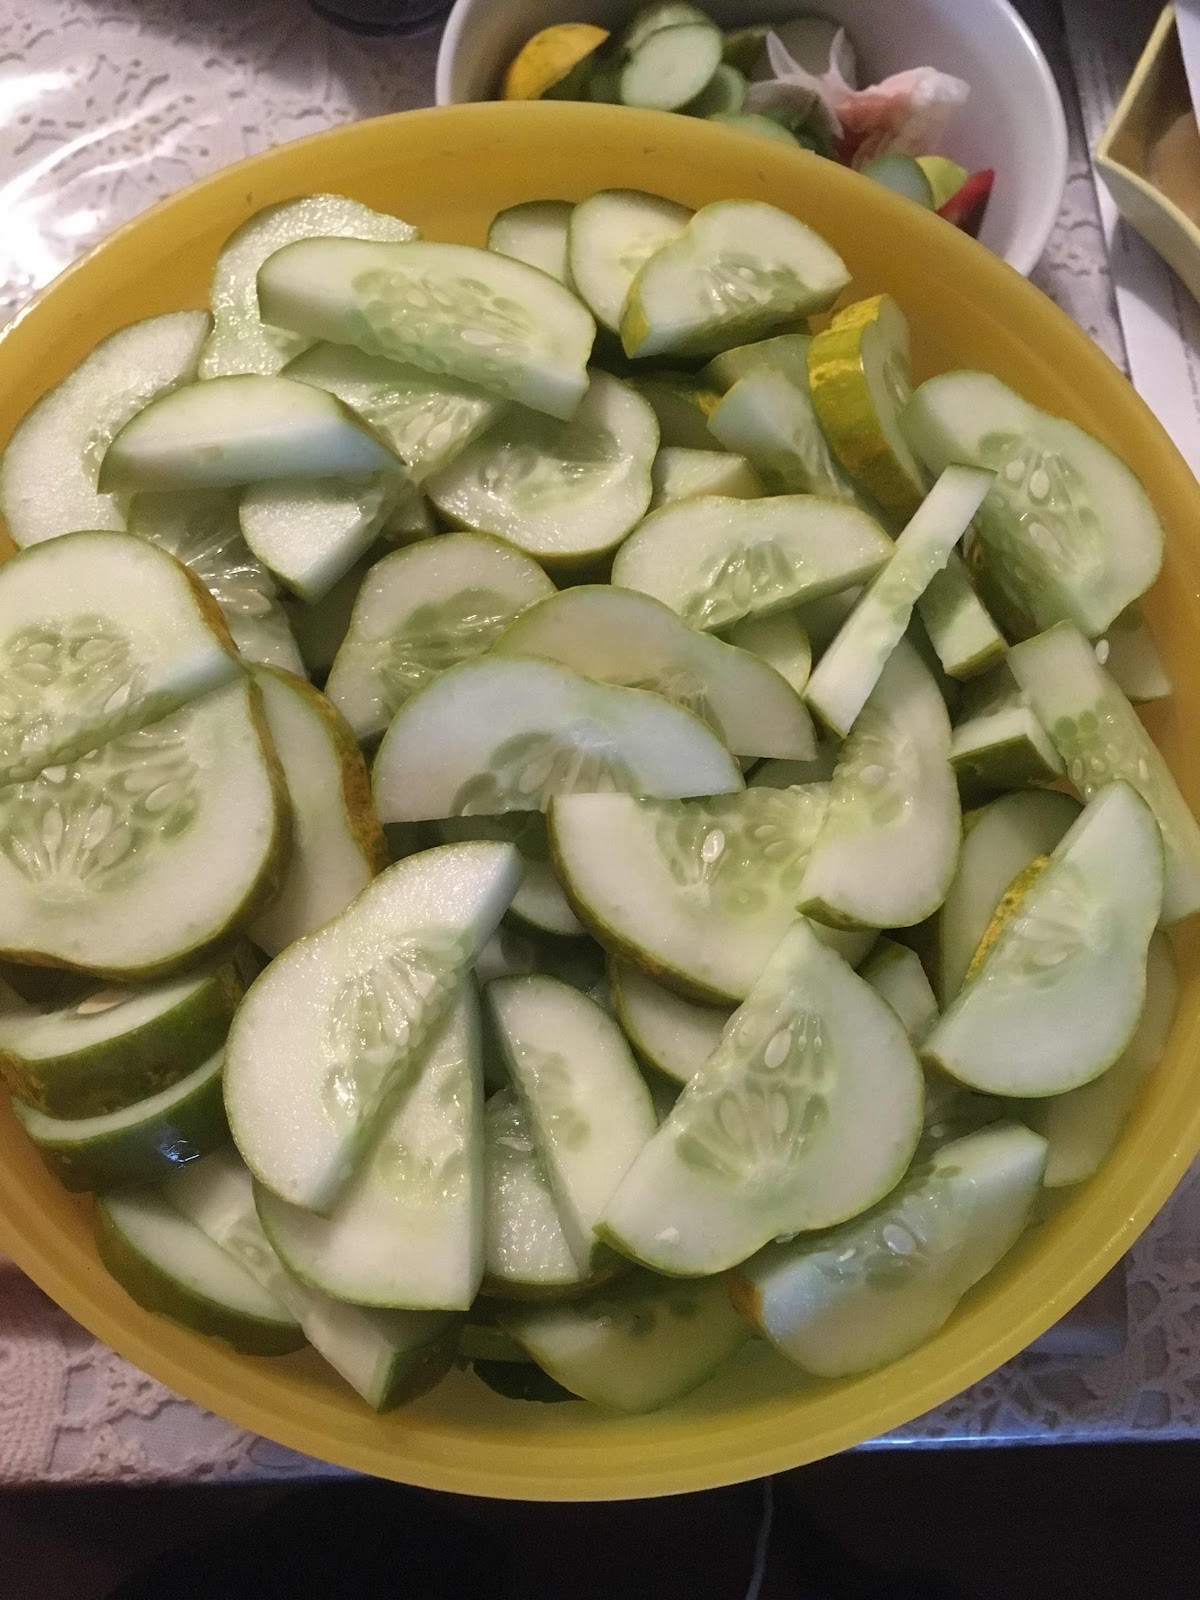
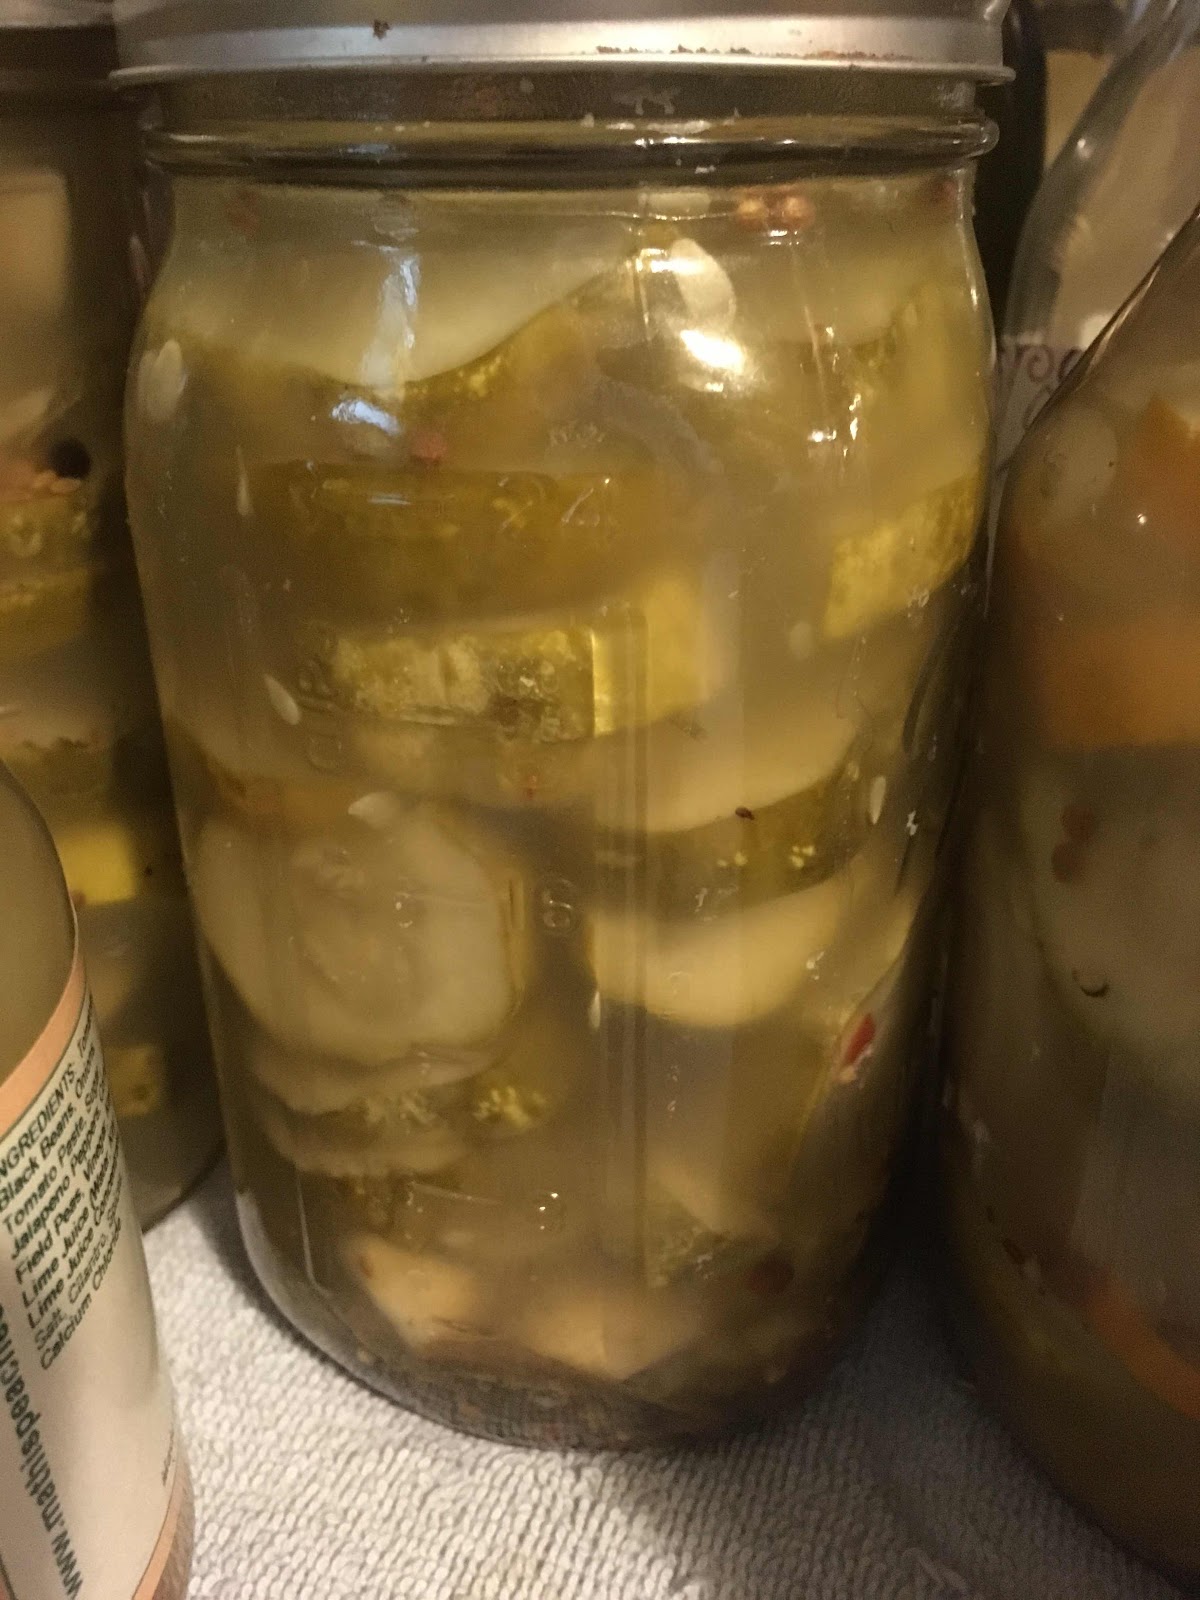
Ever since I was a little girl, I have loved pickles, especially dill or sour pickles and homemade pickles are the best.  I have memories of my great Aunt Dorothy making fermented pickles and having the huge jars in her bedroom until they were ready to eat.  My parents, brother and I moved to Oklahoma from California when I was in 1st grade and moved in with Grandma and Aunt Dorothy in a 2 bedroom duplex.  It was crowded with my parents and brother in one room, Aunt Dorothy and I in the other and Grandma slept on the fold out couch.  We only lived there about 6 months then moved into a house.  I watched those pickle jars for days until it was time to crack them open and they were the best tasting pickles ever.  Both of my daughters love pickles as well. My oldest, Tabitha, started eating sour pickles as a baby. Everyone was amazed that she loved them. Over the years, I've made my own pickles, canned various kinds and also made easy refrigerator pickles with cucumbers and also radishes (see previous blog post, All things Pickled from Sept 2018). The last couple of years I've gotten into fermenting and am hooked, it's so easy, doesn't take as much time to do as canning and doesn't need much in the way of special equipment.  I've been making sauerkraut, garlic paste, onion and pepper relish and dill pickles.  There is nothing like a home fermented dill pickle, they are so good. I've even gotten my youngest daughter, Aubree, hooked on fermenting.  I was talking to her a couple of weekends ago and we got to talking about pickles because a friend had given me a bunch of pickling cucumbers from her garden and Aubree said she had pickling cucumbers as well so she asked me to email her my recipe.  I made my pickles on a Saturday and she made hers the following Sunday.  My family love homemade pickles.

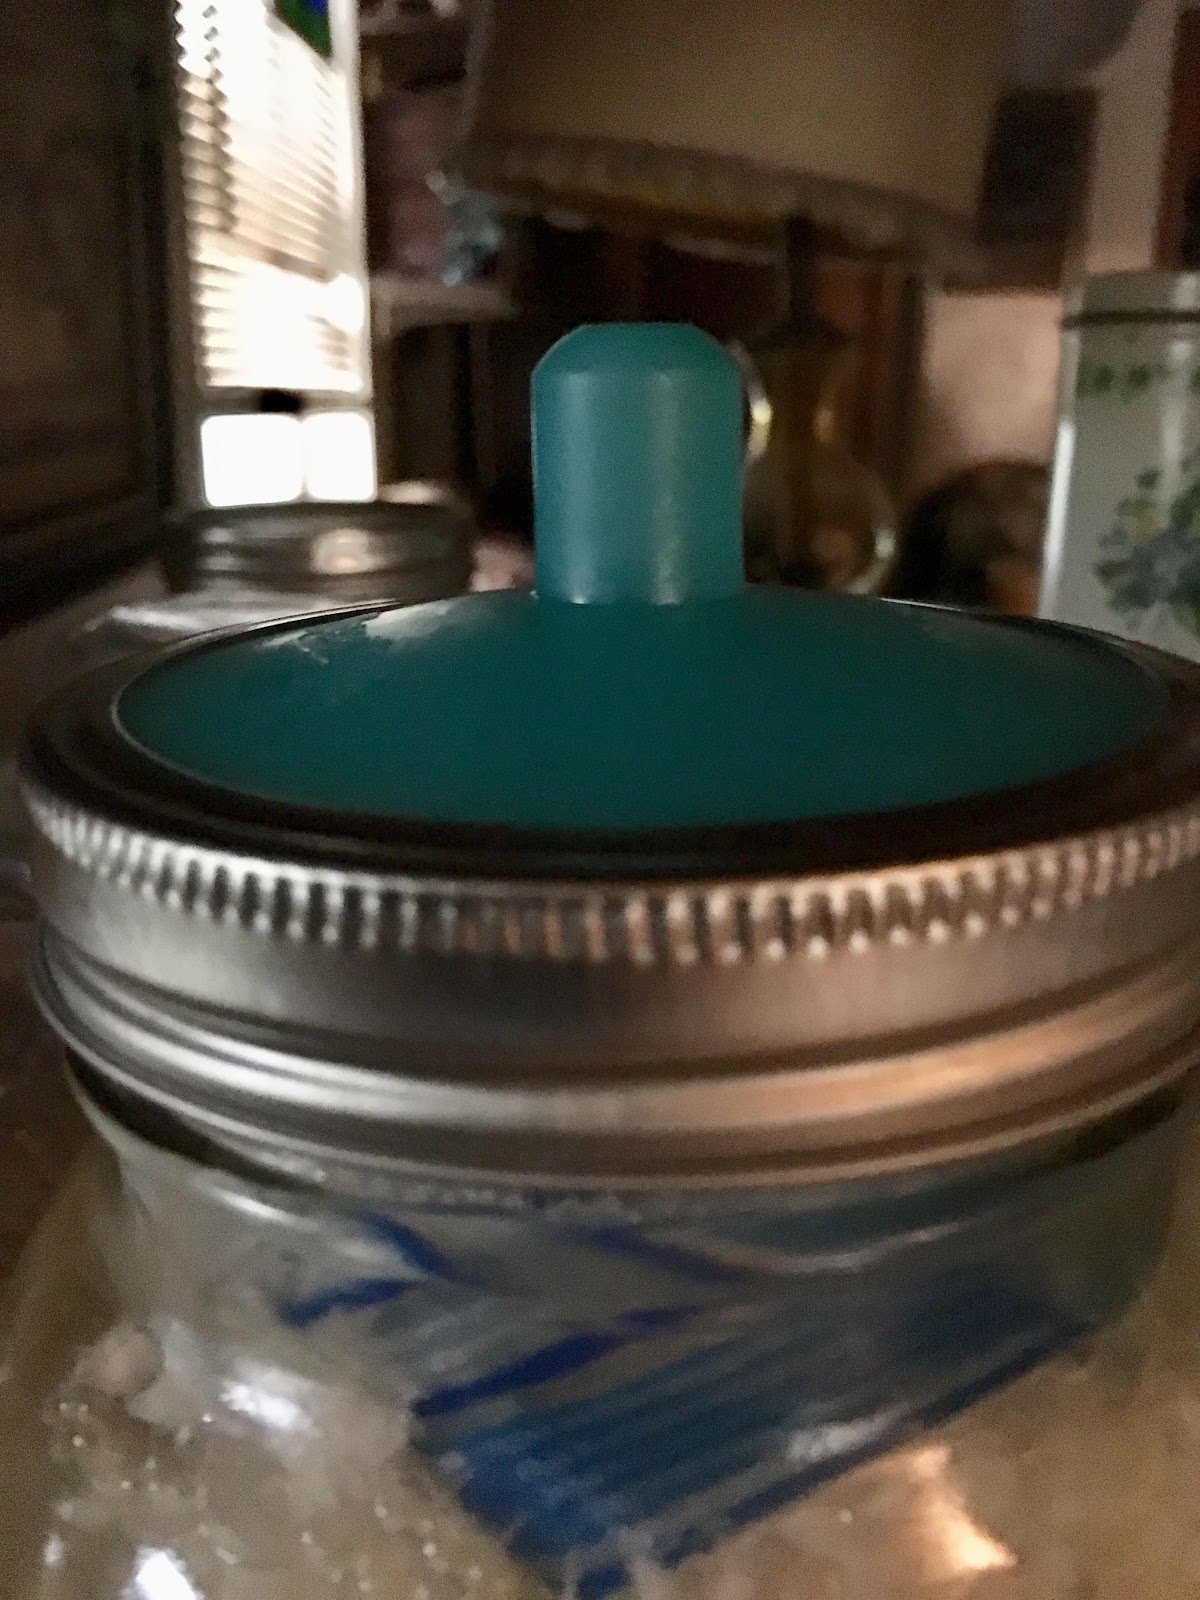
Masontop fermenting lid
There are a lot of great fermenting books, plus recipes online and all kinds of equipment available but the very basic needs are mason jars, wide mouth works best, silicone airlock lids for mason jars (Masontops is the brand we have) filtered water and sea salt.  If planning on doing a lot of fermenting then glass weights, canning funnel and a wooden tamper are useful as well. It's best to ferment in large jars then transfer finished pickles to smaller jars to be stored in the refrigerator.  A friend gave me 3 huge 1/2 gallon jars that I use for my fermenting process but Aubree just uses quart jars.  It is important to leave at least 3 inches at the top in order to add a weight to keep the cucumbers under the brine during the fermenting process.  A glass weight or a Ziploc bag half way filled with water or combination works great to weight down the cucumbers. If using small cucumbers, keep whole or cut in half but cut off the blossom end.  I prefer to slice mine in 1/2 slices.  Pickling cucumbers or Persian cucumbers work the best for fermenting. My fermenting book states that the pickles will form from 7 to 10 days but to check them at day 7. However, in a hot environment, say no air conditioning or just a hot kitchen, that will speed up the fermenting process so check after day 4.  The jars could mold if they get too hot.  Aubree has mold problems with her 1st batch because her kitchen was hotter than mine so checked them after 4 days with her second batch and they were already fermented.

Here's the recipe:
Fermented Sour Pickles

6 to 8 pickling cucumbers, if small use whole (cut off blossom ends) or slice in 1/2 inch slices
1-2 T sea salt
2 sprigs fresh dill (can use dill seeds or combination of fresh and seeds)
1 T mustard seeds
1 t crushed red pepper flakes
1 t coriander seed
1-2 bay leaves
1 T black peppercorns
1 onion, thinly sliced
5-6 cloves of garlic, peeled
1 t loose green tea leaves (I cut open tea bags and put in 1 tea bag per jar)
3-4 cups of filtered water


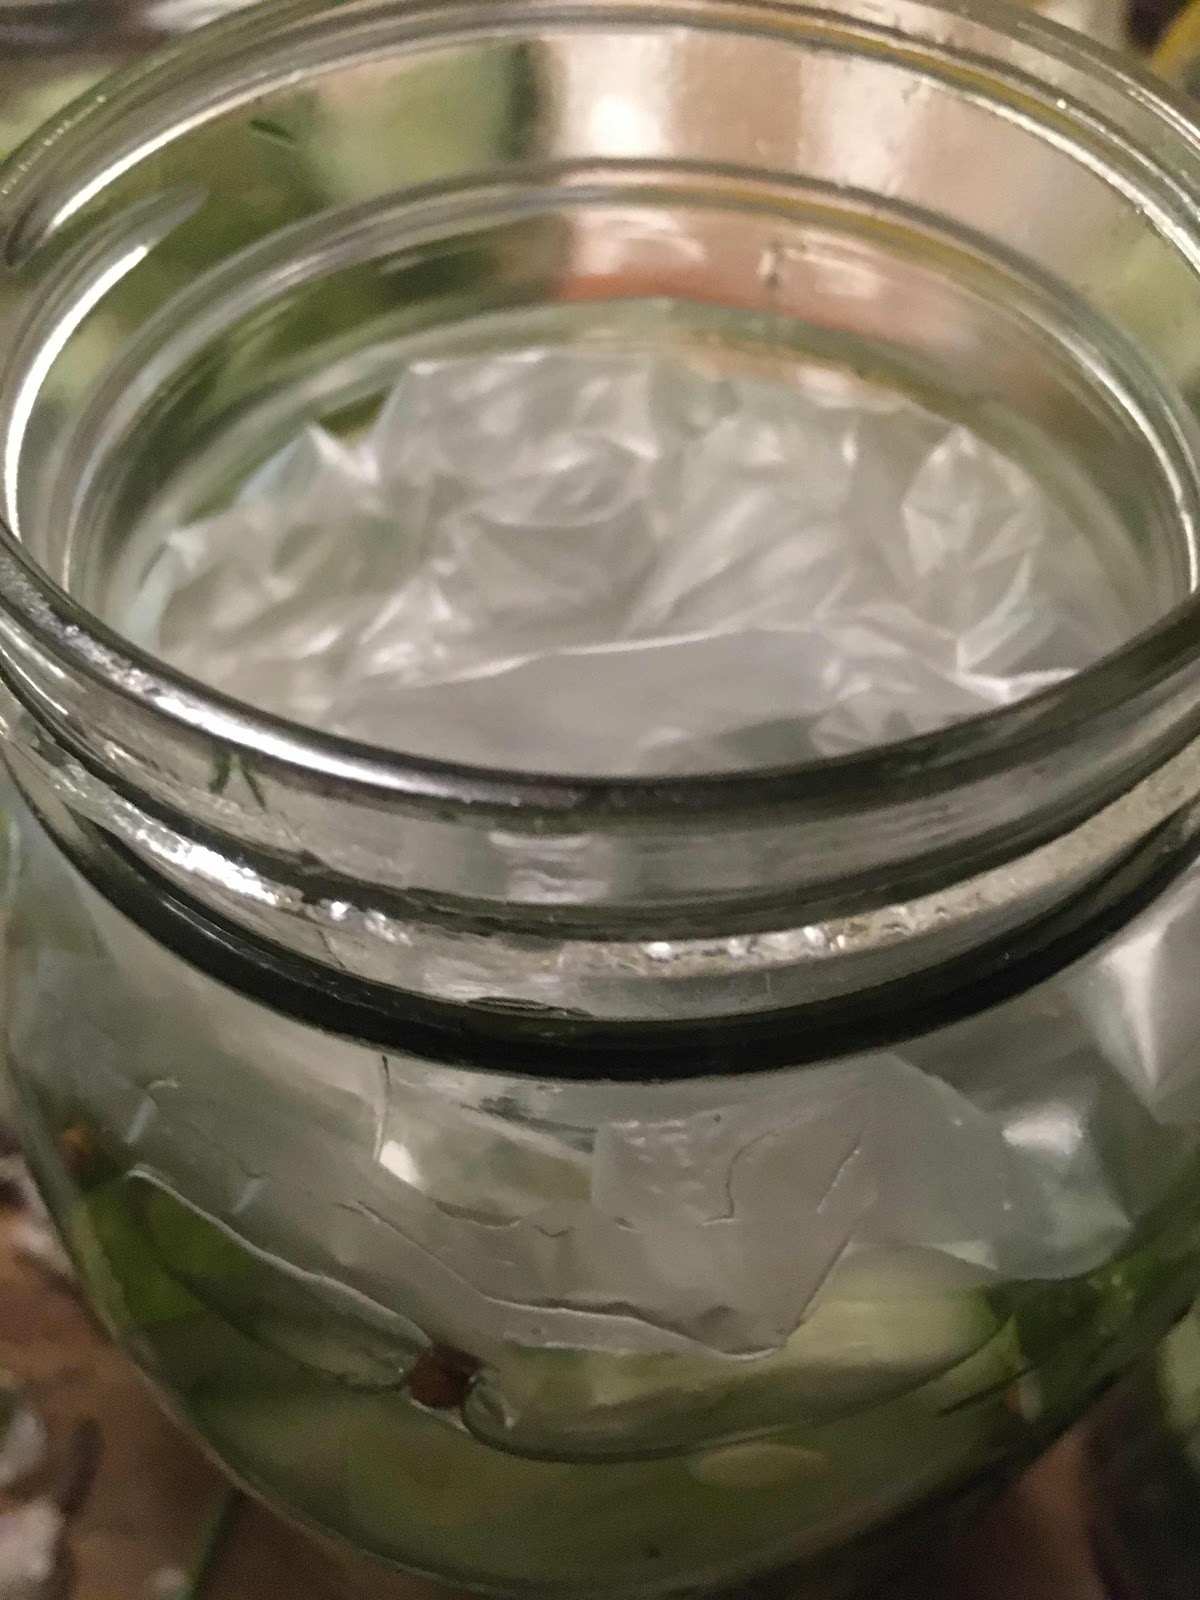
To make brine, bring filtered water to boil and dissolve salt. Let cool. Place seasonings, onion, garlic and tea leaves in bottom of large wide mouth mason jars and pack in cucumbers in jars leaving at least 3 inches at top.  Cover with brine until it reaches 1 inch above the top of the cucumbers. Place a piece of plastic wrap in the jar over the cucumbers and brine and then put a Ziploc sandwich bag in the jar (I put my glass weight in the bag for additional weight) and add water then close the bag.  This will act as a weight to keep the cucumbers submerged in the brine.  IT IS VERY IMPORTANT THAT THE CUCUMBERS STAY SUBMURGED UNDER THE BRINE. Cover with fermenting lid and set on counter away from direct sunlight and in a cool place.  Check each day to let out any air trapped in jar.  Pickles will be ready in 7 to 10 days, start checking after day 4.

Pack in smaller jars and refrigerate, will keep for 1 year. (But trust me, they'll be eaten up quickly, they are so good.)

Enjoy,
Bamah


Wednesday, April 3, 2019

Pasta Salad with lots of veggies

Spring is the beginning of salad time for me and pasta salad is one of my favorites.  It's so easy and versatile by using different pastas, adding whatever vegetables that are in season, adding meat or not, olives or peppers. The possibilities are endless. The key to a good pasta salad is the pasta and the dressing. I like using rigatoni because it's a larger noodle.  A homemade dressing is good or use a really good Italian dressing. I use Reed's Italian Salad Dressing from Borger, TX.  They come to our Oklahoma State Fair every year and I've been buying their dressing for several years. It's my favorite, ever.  It doesn't have to be refrigerated after opening, has a really good shelf life so I get enough bottles to last me a year until the next state fair. They also sell online. I add the dressing to the drained, cooked pasta so it doesn't stick then add chopped veggies such as broccoli, carrots, celery, tomatoes and some kind of green leafy vegetable like kale, spinach or bok choy. I also add black or Kalamata olives, Parmesan cheese and sometimes banana peppers, pepperoni or summer sausage. Chopped onions or green onions can also be added but I don't like the taste of raw onions so I add either 1 teaspoon of sofrito (pureed onions, peppers and garlic, recipe on previous post) or I made a fermented onion and pepper relish that's really good added to salads. Here's the recipe:


Pasta Salad with Veggies


1 pkg. rigatoni pasta
1/4 to 1/2 c Italian dressing
1 to 2 chopped broccoli, carrots and/or celery
1 c chopped kale, spinach or bok choy
1/2 c chopped tomatoes
1/2 c black or Kalamata olives or banana peppers
1 t each seasoned salt, pepper and parsley
1 to 2 c shredded Parmesan cheese
1/2 c chopped pepperoni or summer sausage, optional


Cook pasta according to package instructions, drain.  Put in large bowl adding dressing and stir to prevent pasta from sticking.  Add rest of ingredients and stir until everything is incorporated.  Add additional dressing if needed. Refrigerate, will keep for about a week.


Enjoy,
Bamah


Sunday, March 31, 2019

Homemade Macaroni and Cheese

Homemade macaroni and cheese is such a versatile comfort food.  There are so many variations of cheese, noodles, meat and veggies, the possibilities are endless. They all start with a basic white sauce also called a béchamel, which is just butter, flour and milk, seasoned with salt and pepper.  When cheese is added, it becomes a wonderful cheese sauce and perfect for mac and cheese. The first step is to make a roux, which is melted butter and flour in equal measurements to thicken the sauce.  I usually use 2 to 4 tablespoons depending on how much sauce I need.  White and cheese sauces are really easy to make and used for so many dishes besides mac and cheese, such as scalloped potatoes, Alfredo pasta, cream soups and so much more. I love finding ways to add vegetables to all my cooking and by adding a cup of cooked, mashed butternut squash to my roux before adding the milk it makes the sauce creamier and the squash really doesn't affect the taste much. Butternut squash is really easy to cook, just cut off ends, slice in half, scoop out the seeds and either roast in oven for 45 minutes to 1 hour or microwave for 10 to 15 minutes until tender.  When cooled, scoop out flesh and mash. I microwaved the squash, used half of it for my mac and cheese and froze the rest for later.
 Another great ingredient to add to a white or cheese sauce is 1 t. of spicy mustard.  It just adds a little kick that breaks up the richness of the milk and butter. This past week, I made mac and cheese with orecchiette pasta (small bowl shaped), finely chopped broccoli and lamb sausage. I topped it with additional cheese and crushed cheese crackers for some crunch.  It was very yummy. Here's the recipe:

Macaroni and cheese

2 T butter
2 T flour
1 t spicy mustard
1 c mashed butternut squash
2 c milk
2 to 3 cups shredded cheese, I used a combination of white cheddar and smoked Gouda
1 t each, seasoned salt, pepper and parsley
1 package macaroni or any type of pasta, cooked, reserve pasta water to add to sauce
1 c broccoli, finely chopped or veggie of choice
1 c smoked sausage, chopped, (I used lamb sausage) bacon is another option
1 c cheese crackers, crushed
Prepare butternut squash, cut off ends, slice in half, scoop out seeds and either roast in oven for 45 minutes to 1 hour or microwave for 10 to 15 minutes until tender.  When cooled, scoop out flesh and mash, need 1 cup.

Cook pasta according to package instructions, reserve 1/2 pasta water.  In saucepan, melt butter, add flour to make roux.  Cook about 1 minute on low until roux is a light brown, add spicy mustard and mashed squash, cook until blended.  Gradually add milk and seasonings, cooked on low heat until thickened then add cheese. Cook until cheese is melted.  In casserole dish, add cooked pasta, chopped broccoli, sausage and pour over cheese sauce, adding a little pasta water.  Top with additional shredded cheese and crushed crackers.  Bake at 350 for 45 minutes to 1 hour until browned and bubbly. 

Enjoy,
Bamah


Tuesday, February 12, 2019

Grandmas Snickerdoodle cookies

I love cookies and snickerdoodles are one of my favorites and I'm pretty sure they were my grandma's favorites as well. This past December, I found her well used recipe and made a double batch for us and to share at work. They were so good.  Growing up, Grandma always made our favorite cookies and even when we were grown and married she'd make them for holidays.  Later she made them for the children in her church for years, well into her 70's. Her church had a bus ministry and a big children's church program and she'd make several dozen homemade cookies every week for them.  Every Saturday she would be in her kitchen making cookies.  I asked her one time why she continued to bake so much every week instead of just buying cookies to donate. She felt that the kids coming to church off the bus deserved homemade cookies and that was her way of showing God's love. That was how my grandma was. She always had a mission, actually she always had several missions going.  She felt that everyone should have a mission for the Lord and if they didn't she would help them plug into one of hers or something else that used their gifts. I have followed her example and have several missions that I work on, mostly donating my handmade crocheted and knitted items to various places. I think of her a lot and all that she taught me. I especially felt her presence as I made, shared and ate these snickerdoodle cookies.
Here's the recipe:
1 1/2 cups sugar
1/2 cup butter, softened
1/2 cup shortening
2 eggs
2 3/4 cups all purpose flour
2 t. cream of tarter
1 t. baking soda
1/4 t. salt

1/4 cup sugar with 1 T. cinnamon (cinnamon sugar)

In large bowl, beat sugar, butter, shortening and eggs with electric mixer until blended. Stir in flour, cream of tarter, baking soda and salt.  Chill dough for 30 minutes. Shape dough into 1 1/4 inch balls and roll in cinnamon sugar.  Place on ungreased cookie sheet, 2 inches apart. Bake 8 to 10 minutes or until set.  Immediately remove from cookie sheet and cool on wire rack.


Enjoy,
Bamah


Thursday, January 31, 2019

Super Easy Fried Rice

I love fried rice and homemade is so much better than take out because it's not as greasy and you can add what you like. I've made fried rice several times before and it turned out good but sometimes kind of dry and I was adding quite a bit of soy sauce or water to moisten it. I recently watched an episode of The Kitchen on Food Network where Chef Jet Tila made a bacon and egg fried rice that put the beaten eggs in the skillet with the rice to make a kind of sauce and then added a little soy and oyster sauce.  It looked really good, was quick and easy so I made fried rice for supper that night. It was the best fried rice ever, super moist and took less that 30 minutes to make. I used ground pork in mine, veggies from my freezer and cooked rice in our rice cooker. It's so versatile and easy, with any kind of meat, vegetables and cooked rice, plus my husband loved it so I will definitely be making this again. It's also a great way to use leftovers. Here's the recipe:

1 lb. cooked meat, bacon, ground pork or chicken
2 cups cooked rice
1 to 2 cups chopped vegetables, such as onions, sweet peppers, carrots. green beans, peas or broccoli
2 eggs beaten
1 t each seasoned salt, pepper and parsley or an herb mix
2 to 3 T soy sauce, can also add oyster sauce

Cook rice in rice cooker, on stove or use leftover rice. In large skillet, brown meat and set aside.  In meat drippings (if not enough drippings add 1 t bacon grease or oil) , season vegetables with seasoned salt, pepper, parsley or herb mix and cook until tender 10 to 15 minutes, depending on vegetables. Add meat back in. When rice is done, add beaten eggs to skillet then add rice directly into wet egg and press the rice into the egg, stir until rice is coated.  Add soy and/or oyster sauce and check seasonings.  Mixture is done when egg is completely cooked, which just takes a few minutes.

Enjoy,
Bamah

Wednesday, December 12, 2018

Homemade Double Cranberry Sauce

I love cranberries.  I love them dried or fresh especially in baked goods, fresh cranberry relish (recipe on post Crazy for Cranberries Dec 2012) and cranberry sauce. I was a big fan of canned cranberry sauce for years until I had homemade which is so much better. I found this recipe a couple of years ago, added a chopped apple and persimmons and made it this year.  My family loved it, even my husband.  I made it in addition to the fresh cranberry relish and we've decided that we need both relish and sauce every year now. It was great in combination with the relish over our Thanksgiving patties (on previous post) on the days after the big meal. It's also great on toast.Here's the recipe:


Double Cranberry Sauce
1 bag of fresh cranberries
1 cup dried cranberries
1 cup juice (any kind) or water
1 apple, finely chopped
1/3 cup honey or molasses
2 to 3 T sugar
1 T orange zest, (can use juice of orange as well with 1 cup of juice)
1/4 t each of cinnamon and allspice
optional 1 to 2 chopped persimmons


In medium saucepan, combine all ingredients and simmer about 20 minutes until cranberries pop and mixture begins to thicken. Sweeten to taste.  Serve warm or at room temperature.


Enjoy,
Bamah


Saturday, December 8, 2018

Thanksgiving Patties

I've talked about and given instructions on previous posts concerning Thanksgiving patties but my daughters convinced me that I needed to do a post just on the patties themselves.  Thanksgiving patties started many years ago when I was visiting my youngest daughter, Aubree, who was living in Boston at the time over the Thanksgiving holiday.  We were watching the Thanksgiving parades and there was a guest chef giving recipes/ideas for Thanksgiving leftovers and he made these patties with dressing or stuffing, mashed potatoes, chopped turkey with a little gravy and served with gravy or cranberry sauce. Aubree and I tried them with our leftovers and loved them. The next year both girls were home for Thanksgiving and we made patties on the Friday after with the leftovers. My oldest daughter, Tabitha, loved them so much she decided they were the best part of Thanksgiving. Every year since we make enough dressing in order to have several meals of patties on the weekend after Thanksgiving. We tease Tabitha that she could skip the Thanksgiving meal and go straight to patties. She does enjoy the big meal but really loves the patties. Here's a quote from her, "Thanksgiving patties are the wonderful memories
of yesterday's meal, perfectly pressed together and fried
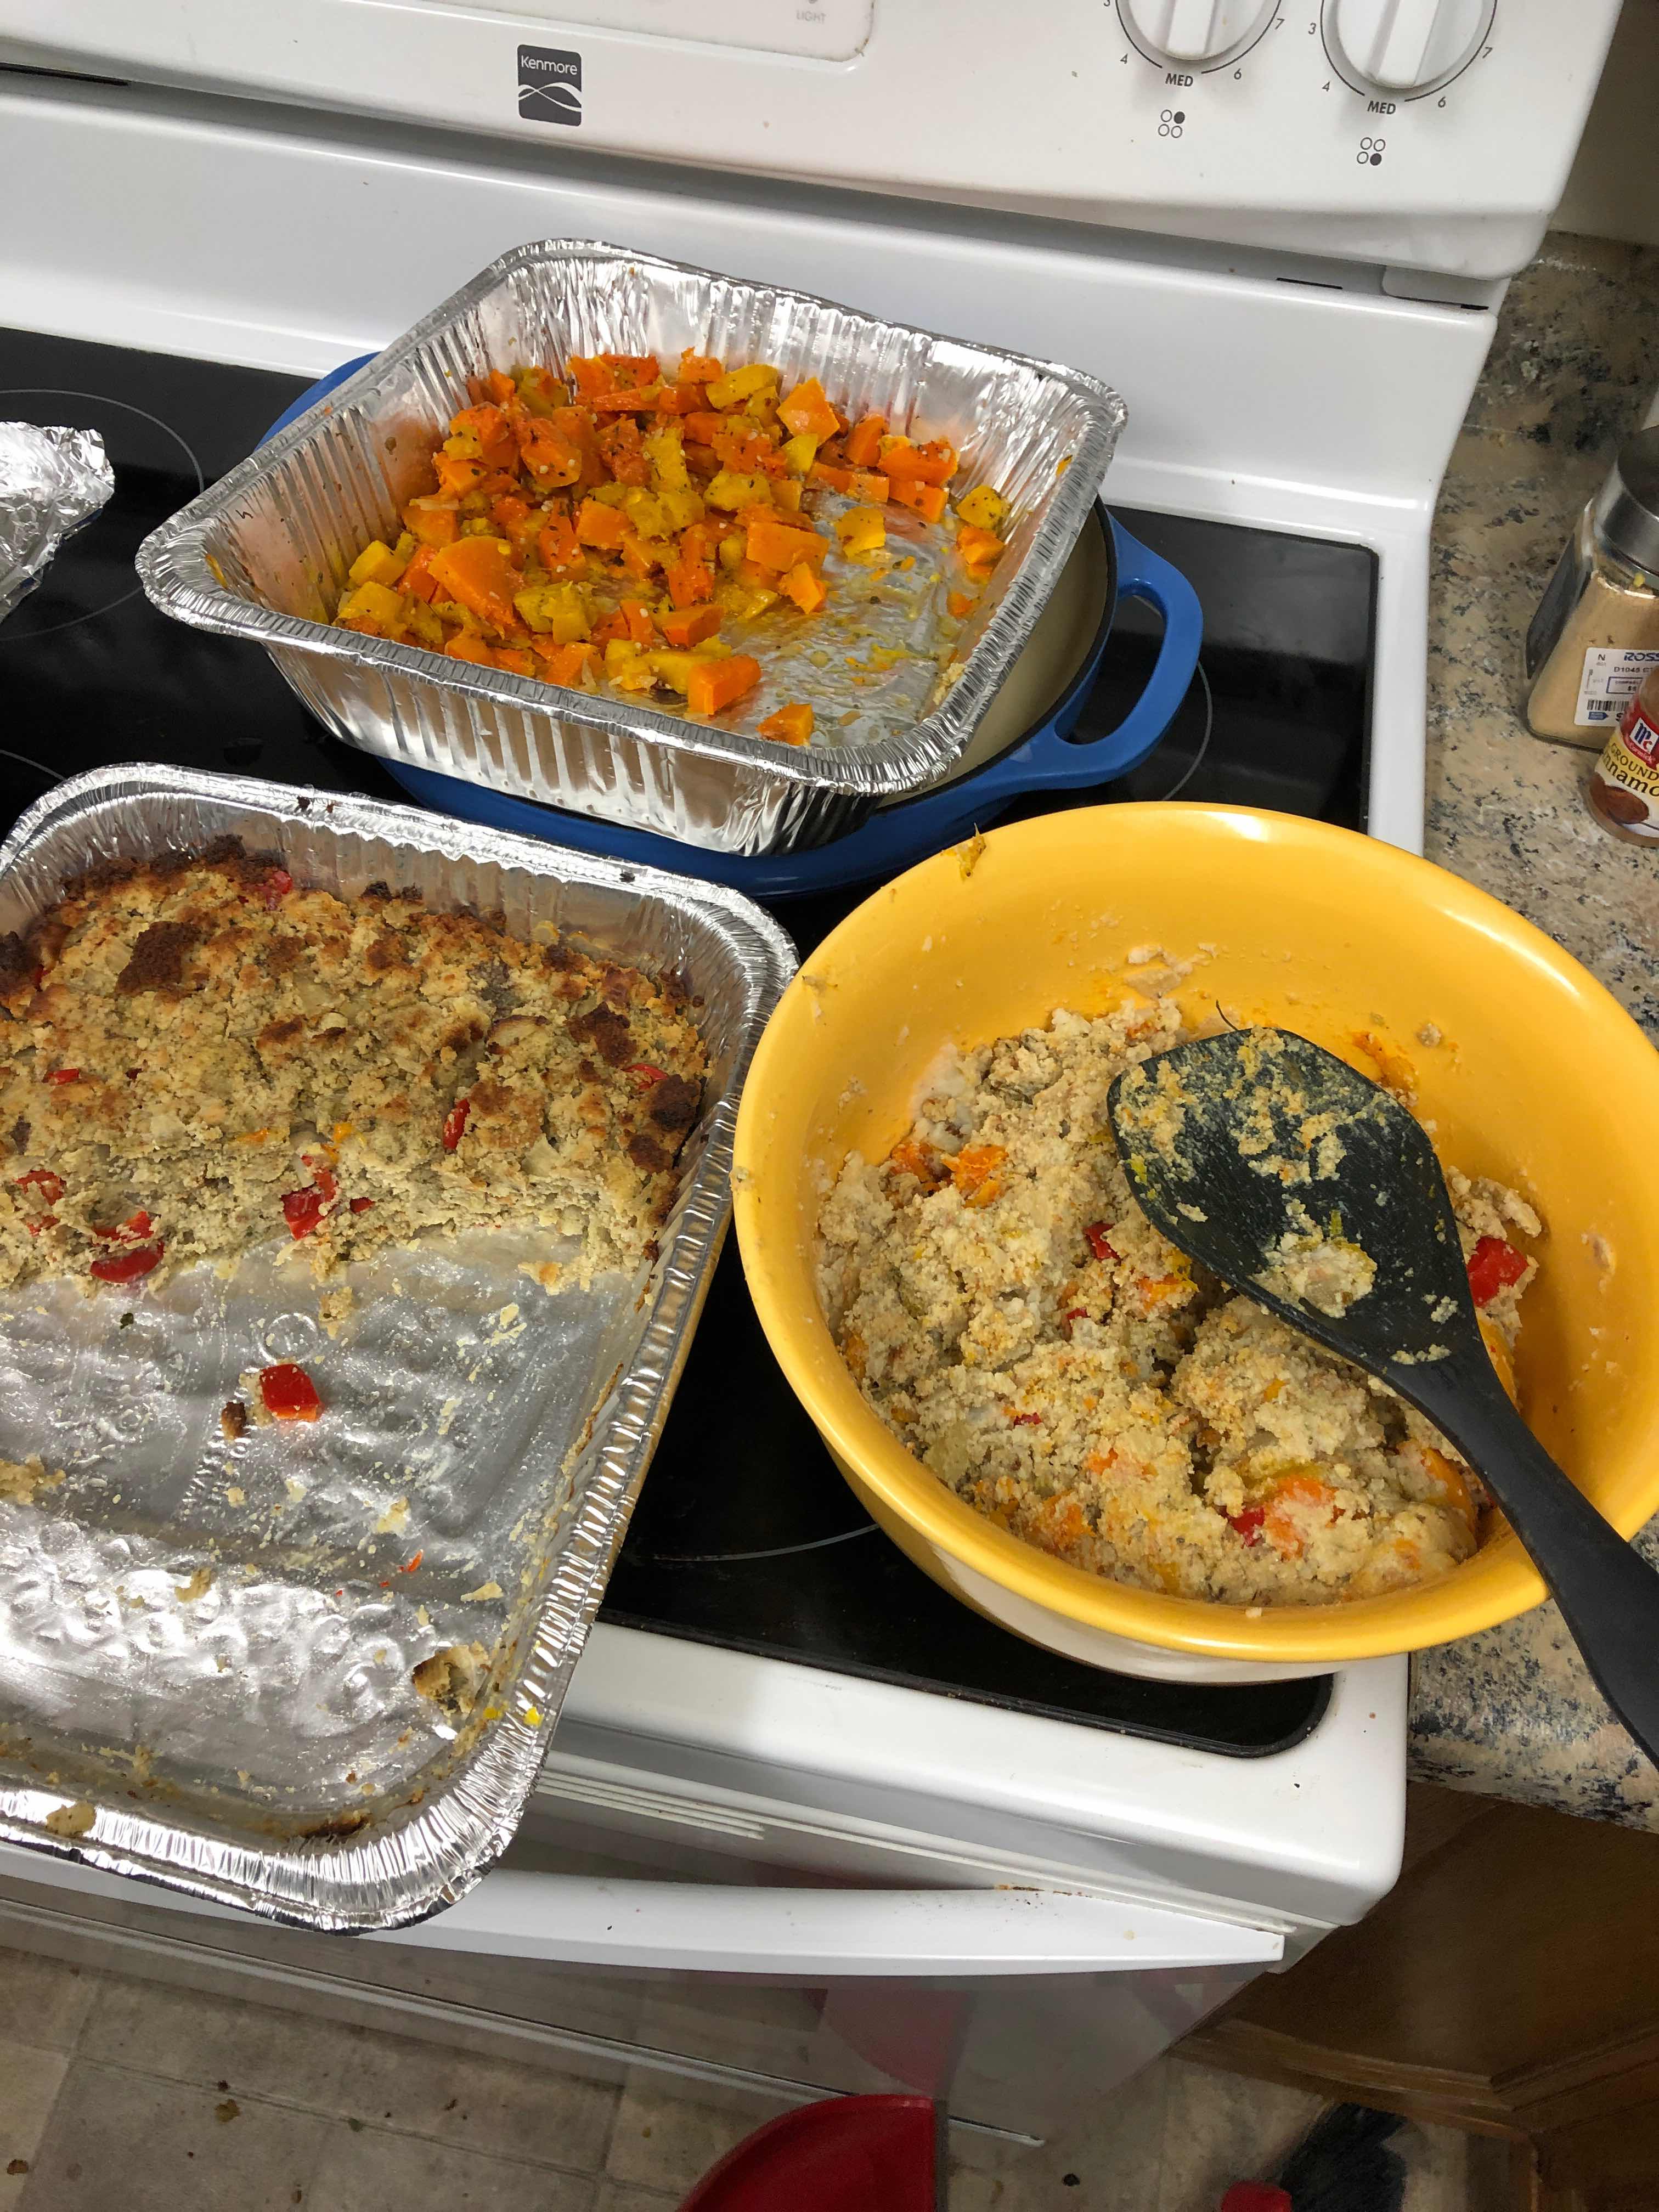
in butter." I think that says it all. The girls made patties the Friday and Saturday after Thanksgiving and took pictures of the process.

In a bowl, mix up dressing, mashed potatoes and chopped turkey to a consistency where they hold together to form a patty. It depends on how moist the dressing and potatoes, if the mixture is too dry and doesn't stick together, add a little gravy. We had a roasted squash mix leftover so added them to the patties as well so didn't need gravy. Fry in skillet in butter or some kind of oil until browned on both sides. Serve with either gravy, cranberry relish (recipe on Dec 2012 post, Crazy for Cranberries) or cranberry sauce.
We really like a combination of cranberry relish and homemade cranberry sauce, (recipe will be in a future post).
Enjoy,
Bamah